
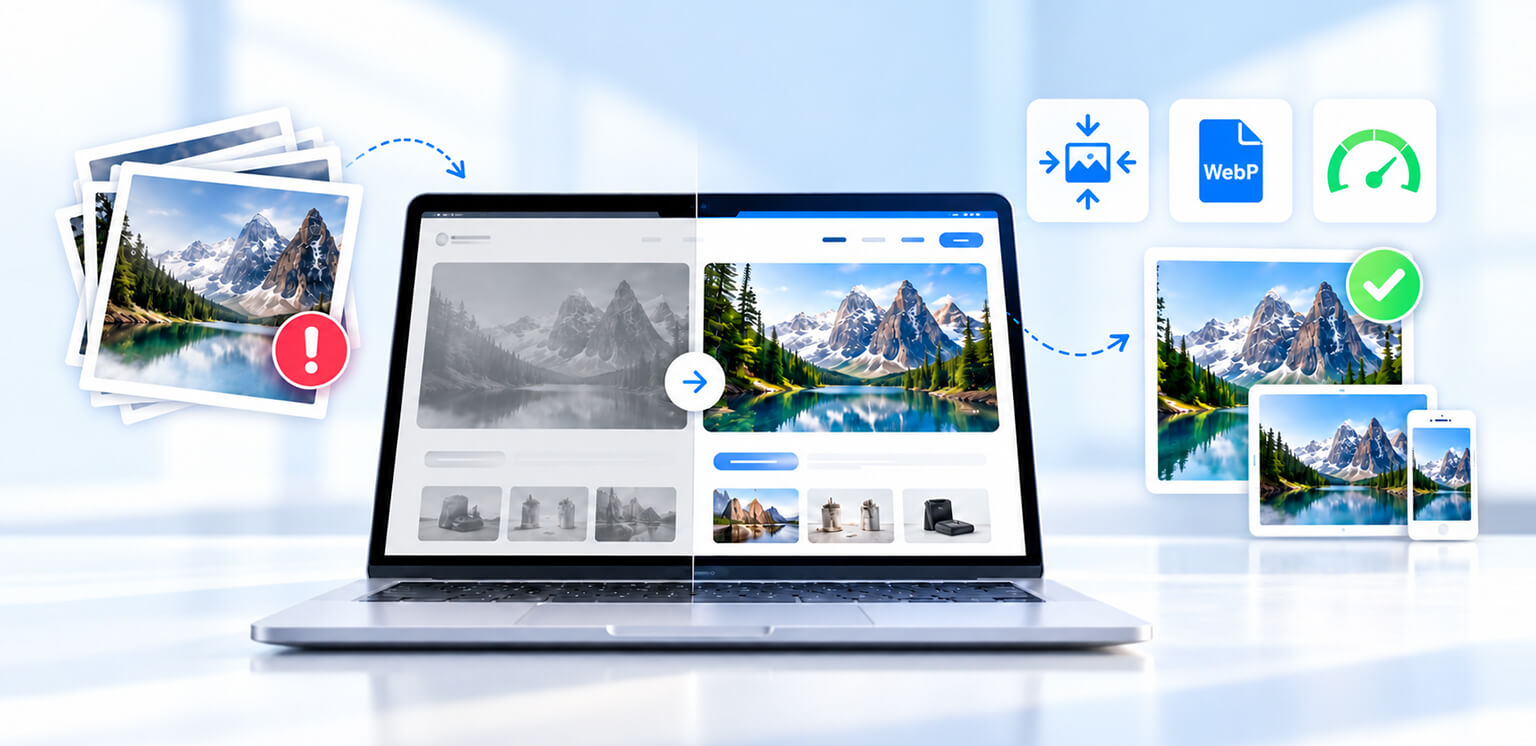
TL;DR: Image optimization after a website redesign means checking migrated and newly added images against the new site’s layouts, templates, and performance requirements. Audit oversized assets, resize images to their actual display dimensions, use efficient formats, review responsive delivery and loading priorities, preserve image SEO signals, and automate ongoing optimization so new uploads do not undo your work.
A website redesign can improve your branding, navigation, conversions, and mobile experience. But it can also introduce a less obvious problem: heavier or poorly optimized images.
New hero sections, larger product galleries, promotional banners, redesigned templates, and higher-resolution visuals can change how images are displayed and loaded. Images that were properly optimized for the old design may no longer be suitable for the new one.
That is why image optimization after a website redesign should be treated as a post-launch process, not simply a task completed before the new site goes live.
The goal is to make sure existing images still fit the new design and that every new image added afterward follows the same optimization standards.
What Should You Do After a Website Redesign?
To keep images optimized after a redesign:
- Audit the redesigned site for oversized, duplicated, broken, or inefficient images.
- Resize and compress images according to their new display requirements.
- Review responsive delivery so mobile users do not download unnecessarily large files.
- Check loading priorities and avoid lazy-loading important LCP images.
- Check image SEO, including useful alt text, filenames, URLs, and crawlability.
- Automate ongoing optimization so newly uploaded images are optimized automatically.
The last step is particularly important. A redesign may fix your existing image library, but without an ongoing process, new uploads can gradually make the site heavier again.
Why Images Need to Be Rechecked After a Redesign
Images need to be rechecked after a redesign because changes to layouts, templates, and responsive breakpoints can change how large, how often, and how quickly images are loaded. An image that was optimized for the old design may no longer be optimized for the new one.
For example, an image that previously appeared in a 600px-wide product card might now be displayed in a larger two-column layout. A homepage banner may also change from a small contained image to a full-width hero.
As a result, the existing image may be:
- Too small for the new display size
- Much larger than necessary
- Using an inefficient format
- Missing responsive variants
- Loaded differently from before
- No longer the ideal LCP image
This is why website redesign image optimization should be based on the new templates and how images are actually displayed, rather than simply carrying the old optimization settings into the redesigned site.
How to Maintain Image Optimization After a Website Redesign
Keeping images optimized after a redesign requires more than fixing the existing image library. Establish ongoing optimization rules, automate new uploads, and regularly monitor image performance so image-related issues do not return as the site evolves.
1. Start With an Image Audit After the Redesign
An image audit after a website redesign helps identify what changed and which assets need attention.
Start with your most important templates and pages, including the homepage, product pages, collection or category pages, landing pages, and high-traffic content pages.
Check:
| What to check | Why it matters |
|---|---|
| Image dimensions | Prevents unnecessarily large source files |
| File size | Reduces page weight |
| Image format | Identifies opportunities for more efficient formats |
| Responsive images | Ensures appropriate files are served to different screens |
| Loading behavior | Prevents important images from being delayed |
| Image URLs | Finds broken or unnecessarily redirected assets |
| Alt text and filenames | Helps preserve image SEO |
| CDN and caching | Supports efficient image delivery |
Compare these results with your pre-redesign baseline where possible. If page weight or image requests have increased significantly, investigate which new templates or assets are responsible.
Tools such as PageSpeed Insights, Lighthouse, and Chrome DevTools can help identify large image requests and their impact on loading performance.
2. Resize Images for the New Layout
One of the most common post-redesign problems is using images that do not match their new display dimensions.
Do not optimize every image to one universal size. A product thumbnail, product gallery image, blog image, and full-width hero have different requirements.
Instead, review how each image is actually displayed in the redesigned layout and provide an appropriate source size.
For example, if a product card displays an image at around 400px wide, serving a 2,000px-wide file to that card may waste bandwidth. On the other hand, a large hero image may genuinely require a much larger source.
Also consider responsive variants. A desktop visitor and a mobile visitor should not necessarily receive the same image dimensions.
3. Review Responsive Image Delivery
A redesigned site may have completely different breakpoints and image containers, so revisit your srcset and sizes implementation.
For example:
Responsive images allow the browser to select an appropriate resource based on the user’s screen and layout.
This matters particularly after a redesign because CSS can make an image appear smaller without reducing the size of the file downloaded. If the redesigned site introduced smaller mobile layouts but still serves desktop-sized assets, mobile visitors may receive unnecessary bytes.
4. Recheck Compression and Image Formats
Do not assume that images optimized before the redesign are still optimized for their new roles.
Review the files again after resizing them. Compression should balance file size with visual quality, particularly for ecommerce product photography and other images where detail matters.
Also review formats. Depending on the image and browser requirements, WebP or AVIF may provide more efficient delivery than older formats, while JPEG, PNG, SVG, or GIF may still be appropriate for certain assets.
The objective is not to force every image into the same format. It is to use an efficient format that fits the content and implementation.
5. Check Image Loading After the Redesign
Redesigned pages often introduce more images above the fold, which makes loading behavior especially important.
Do not lazy-load the LCP image
Below-the-fold images can generally use lazy loading so they are requested when they are closer to entering the viewport.
However, if an above-the-fold image is the page’s LCP element, avoid lazy-loading it because delaying its request can delay LCP.
For example, a below-the-fold image might use:
Meanwhile, an important hero image may need to be discovered and loaded earlier:
Use high priority selectively. Not every image is critical. Also make sure image dimensions are defined so images do not unexpectedly shift the page as they load. This helps protect Cumulative Layout Shift (CLS).
6. Recheck Image SEO After the Redesign
Performance is only one part of image SEO after a website redesign.
A redesign can unintentionally remove or change useful image SEO signals. Check that:
- Important images still use crawlable HTML
<img>elements. - Descriptive filenames have not been unnecessarily replaced.
- Useful alt text has been preserved or updated.
- Important image URLs are not returning errors.
- Images are still associated with relevant surrounding content.
- Important images remain discoverable and crawlable by search engines rather than being accessible only through implementations that make them difficult to find.
For example:
Alt text should describe the image naturally rather than being filled with keywords.
If the redesign also changed your media folders, CDN, or image URLs, check for broken links and unnecessary redirect chains.
7. Make Image Optimization an Ongoing Process
This is where many redesign projects fall short. Optimizing the existing image library immediately after launch can improve the redesigned site’s starting point. But the website will continue to change.
New products will be uploaded. Marketing teams will replace banners. New landing pages will be created. Blog editors will add images. Without a consistent process, oversized and uncompressed files can gradually return.
That makes automated image optimization an important part of maintaining image performance after a redesign.
Instead of manually optimizing every new asset, an automated workflow can apply the same rules whenever images are uploaded. Depending on the tool and platform, this may include:
- Detecting oversized images.
- Resizing them to defined limits.
- Compressing them according to image type.
- Converting suitable files to modern formats.
- Generating responsive variants.
- Applying optimization rules to newly uploaded images.
This creates a continuous process rather than a one-time cleanup. For stores with large catalogs, automation is especially useful because manually checking hundreds or thousands of product images every time the catalog changes is difficult to maintain.
The key is to optimize both the existing library and future uploads. Otherwise, the same performance problem can gradually return.
8. Monitor Image Performance After Launch
Your redesigned website should be monitored after launch rather than evaluated only once. Recheck important pages after major changes and watch for:
- Increasing image payloads
- New oversized images
- Changes in LCP
- Mobile performance issues
- Broken image URLs
- New redirects
- Unexpected increases in image requests
- Images being loaded when they are not needed
Also monitor Core Web Vitals and compare results with your pre-redesign baseline.
If optimized images do not improve overall performance, remember that images may not be the primary issue. JavaScript, CSS, third-party scripts, server response time, and other resources can also affect page speed.
A Simple Post-Redesign Image Maintenance Workflow
You do not need to repeat a complete redesign audit every week. A simple workflow can keep image performance under control:
Immediately after launch:
Audit redesigned templates, check image sizes and formats, verify responsive delivery, and identify LCP images.
During ongoing publishing:
Apply consistent optimization rules to every new image.
Regularly:
Review image payloads, broken URLs, Core Web Vitals, and high-traffic pages.
After major design changes:
Repeat the audit because changes to layouts and templates can change image requirements again.
This approach makes image optimization part of website maintenance rather than another one-time redesign task.
Conclusion
A redesign can solve many website problems while quietly creating new image performance issues. That is why image optimization after a website redesign should continue beyond launch.
Start by auditing the redesigned templates, then resize images for their new layouts, review responsive delivery, compress and format them appropriately, protect important LCP images, and preserve image SEO signals.
Most importantly, do not stop after optimizing the existing library. Automating image optimization for future uploads helps ensure that new products, banners, blog images, and other assets follow the same standards.
That combination, a post-redesign audit plus ongoing automation, is what keeps images optimized as the website continues to evolve.
Frequently Asked Questions
What is image optimization after a website redesign?
Why should images be audited after a redesign?
Should I optimize all images again after a redesign?
How do I keep new images optimized after a redesign?
Should the LCP image be lazy-loaded?
How often should I audit images after a redesign?
5 October, 2026
Leave a Comment
Ishan Makkar
He is a web performance specialist focused on image optimization and site speed. As the founder of Image Optimizer Pro, he helps businesses reduce image load times and improve Core Web Vitals. His work centers on delivering faster websites, better user experience, and measurable SEO gains without complex development.