
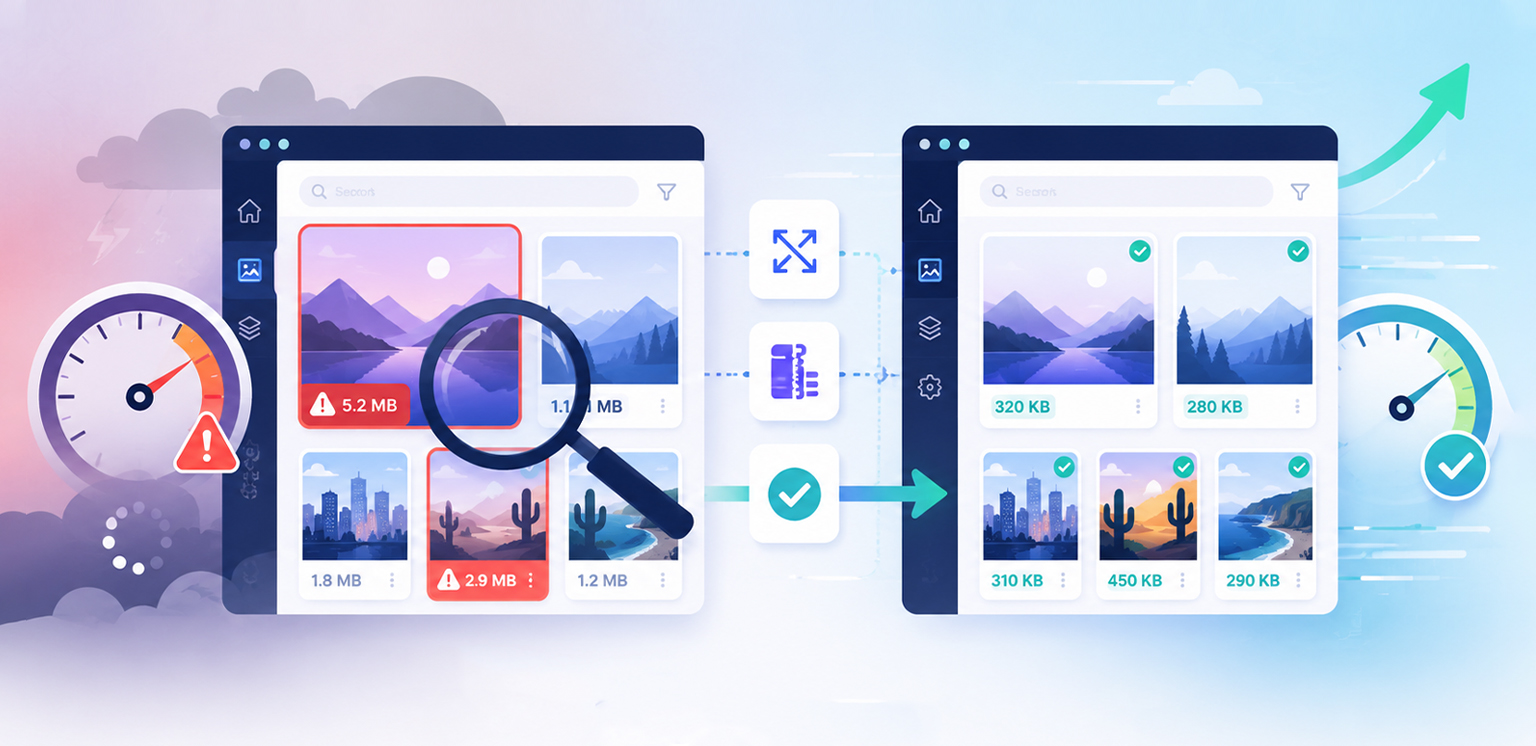
TL;DR: Oversized images can significantly impact your website’s speed and Core Web Vitals. This guide shows you how to find oversized images, understand PageSpeed Insights recommendations, and fix them with proven image optimization techniques.
If your website still loads slowly after optimizing hosting, caching, and code, oversized images could be the hidden culprit. They increase page weight, hurt Core Web Vitals, and reduce the overall user experience.
An image becomes oversized when its actual dimensions are much larger than the space where it is displayed on the page. This forces browsers to download more image data than necessary, slowing page speed and negatively affecting Core Web Vitals.
Many site owners assume that “high-quality images” automatically mean better performance, but that’s not always true. In reality, unoptimized or incorrectly scaled visuals often create unnecessary load, hurting both SEO and user experience.
In this guide, we’ll break down how to find oversized images, understand why they slow down your site, and fix them using practical, real-world techniques.
Quick Steps to Find and Fix Oversized Images Quickly
If you want to quickly find oversized images that are slowing down your website, follow these steps:
- Run your page through Google PageSpeed Insights and check the “Properly size images” recommendation.
- Review the flagged image URLs and their estimated byte savings.
- Verify oversized images by comparing their rendered size with their actual (intrinsic) size in Chrome DevTools.
- Resize images so they closely match their displayed dimensions, then compress them for additional file size savings.
- Re-test your page to confirm the recommendations are resolved, and page performance has improved.
Why Do Oversized Images Slow Down a Website?
Oversized images slow down a website because browsers download more data than necessary. For example, if a 3000px-wide image is displayed at only 500px, users still download the full file, increasing page load time.
This can lead to:
- Larger page size and slower loading
- Poorer Largest Contentful Paint (LCP) and Core Web Vitals
- Delayed rendering of important page content
- A worse user experience and potentially higher bounce rates
Since images often make up the largest portion of a webpage’s total size, identifying and reducing oversized images is one of the most effective ways to improve website performance.
How Can I Identify Oversized Images on My Website?
The easiest way to find oversized images on a website is to use Google PageSpeed Insights, then verify the results with Chrome DevTools if needed.
1. Run Google PageSpeed Insights
Enter your page URL and run a performance test. In the report, scroll to the “Properly size images” recommendation under Opportunities.
Expand the section to view the affected image URLs and the estimated byte savings for each one. If an image is much larger than its displayed dimensions, PageSpeed Insights will flag it as oversized.
Once you’ve identified the images, resize them to match their display size, compress them if needed, replace the originals, and re-test the page to confirm the issue has been resolved.
2. Verify with Chrome DevTools
Open Chrome DevTools, go to Inspect > Network > Img, and select an image. Compare its actual dimensions with its rendered size. If the actual dimensions are significantly larger than the displayed size, the image is likely oversized.
3. Perform a Website Image Audit
If your website has hundreds of images, a website image optimization audit can quickly identify large image files across multiple pages, making it easier to prioritize fixes.
Example Workflow
Suppose PageSpeed Insights reports that your hero banner is 4000 × 3000 pixels but only displays at 1200 × 900 pixels, with an estimated saving of 1.6 MB. Resizing the image to its required dimensions and compressing it before re-uploading can significantly improve page speed without noticeably affecting quality.
Comparison of Tools for Finding Oversized Images
Not all tools provide the same level of detail. Here’s a quick comparison to help you choose the right one for your image performance audit.
| Tool | Best For | Detects Oversized Images |
|---|---|---|
| Google PageSpeed Insights | Quick performance audits | ✅ |
| Chrome DevTools | Compare rendered vs. actual image size | ✅ |
| Lighthouse | In-depth performance audits | ✅ |
| GTmetrix | Performance and waterfall analysis | ✅ |
| WebPageTest | Advanced page speed testing | ✅ |
Does Google PageSpeed Insights Detect Oversized Images?
Yes, PageSpeed Insights is one of the easiest and most reliable tools for identifying oversized images because it highlights images that are larger than their displayed dimensions and estimates the potential byte savings.
It typically reports:
- Proper sizing issues
- Efficient encoding opportunities
- Potential savings in kilobytes
However, it’s important to understand that PageSpeed Insights does not “fix” images, it only identifies them. You still need to manually reduce oversized images or use an optimization workflow to implement changes.
For deeper accuracy, combining PageSpeed Insights with real-user monitoring (RUM) tools gives a more complete performance picture.
What Is the Difference Between Large Images and Oversized Images?
This is a common confusion point.
A large image refers to the file size or resolution (for example, 3000px wide banner image). It may still be appropriate if used in full-width sections or hero layouts.
An oversized image, however, is context-specific. It means the image is larger than its display container requires.
Simple comparison:
| Type | Meaning | Example |
|---|---|---|
| Large Image | High resolution or file size | 4000px product photo |
| Oversized Image | Not optimized for display size | 4000px image shown in 300px container |
So, all oversized images are large in context, but not all large images are necessarily oversized.
Understanding this distinction is key when you find oversized images slowing down website performance.
Should I Resize or Compress Oversized Images?
The answer depends on the root cause.
Resize when:
If the image resolution is much higher than the display requirements, resizing is the best option. For example, a 2500px image used in a 500px container should be resized down.
Compress when:
If the image is already correctly sized but still heavy, compression is the right solution. Lossless or smart compression reduces file size without noticeable quality loss.
In many cases, the ideal workflow is both resizing and compression together.
Resize the image first and then compress it. This approach usually achieves better file size reductions because you’re optimizing only the pixels that are actually needed. A good optimization pipeline ensures:
- Correct dimensions first
- Efficient compression second
- Modern formats like WebP or AVIF, when supported
This approach ensures you fully optimize oversized images without sacrificing visual quality.
How to Reduce Oversized Images Effectively
Once you find large images on a website, fixing them requires a structured approach:
Start by replacing hardcoded full-resolution images with responsive image versions. Use srcset together with the sizes attribute so browsers can choose the most appropriate image based on the visitor’s screen size and layout.
Example:
<img src="image-800.jpg"
     srcset="image-400.jpg 400w, image-800.jpg 800w, image-1200.jpg 1200w"
     sizes="(max-width: 600px) 400px, 800px"
     alt="optimized image">
Next, ensure images are converted into modern formats like WebP, which significantly reduces file size without visible quality loss.
Finally, continuously monitor performance using audits to ensure new uploads don’t reintroduce inefficiencies. Whenever possible, enable lazy loading for below-the-fold images to further reduce initial page load time.
Common Signs Oversized Images Are Slowing Down Your Website
You can often spot issues without tools if you notice:
- Slow initial page load despite good hosting
- High LCP values in Core Web Vitals
- Pagespeed warnings about image dimensions
- Blurry or delayed hero images
- Heavy mobile data usage
- Images appear sharp on desktop but take noticeably longer to load on slower mobile connections.
These are strong indicators that an image performance audit is needed.
Conclusion
Finding and fixing oversized images is one of the most impactful steps in improving website performance. When you systematically find oversized images slowing down website speed, you unlock faster load times, better Core Web Vitals, and a smoother user experience.
With tools like PageSpeed Insights, DevTools, and structured image audits, identifying inefficiencies becomes straightforward. The real improvement comes from consistently resizing, compressing, and serving images in the right format for the right context.
FAQs
1. What is the fastest way to find oversized images?
2. Can oversized images affect SEO rankings?
3. How often should I audit website images?
4. Do all large images slow down a website?
5. What tools help identify large image files?
6. Is compression enough to fix oversized images?
7. What image size is ideal for web performance?
8. Do mobile and desktop require different image sizes?
13 July, 2026
Leave a Comment
Ishan Makkar
He is a web performance specialist focused on image optimization and site speed. As the founder of Image Optimizer Pro, he helps businesses reduce image load times and improve Core Web Vitals. His work centers on delivering faster websites, better user experience, and measurable SEO gains without complex development.