
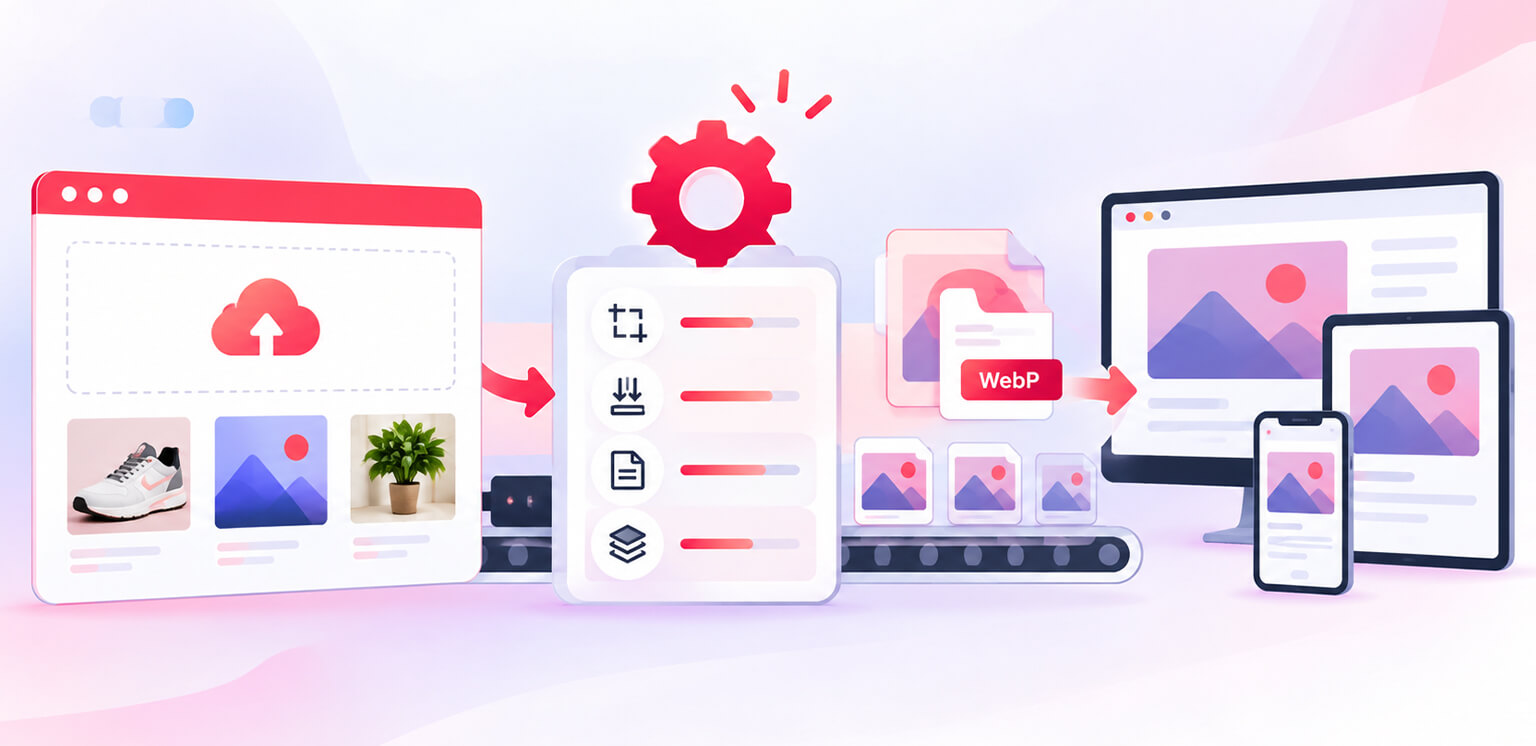
TL;DR: To automate image optimization effectively, process every new upload through a workflow that detects, inspects, resizes, compresses, converts, and prepares the image for responsive delivery. This keeps new uploads from gradually increasing page weight or creating inconsistent image quality.
Uploading an image should not mean adding another performance problem to your website.
On a growing site, new product photos, blog images, banners, and graphics can quickly accumulate. Someone uploads a 4,000-pixel product photo, another adds a large PNG, and a third publishes an image without checking its dimensions.
The issue is not necessarily one oversized file. It is the accumulation of unoptimized uploads. That is why it makes sense to automate image optimization as part of the upload process instead of relying on someone to remember to optimize every image later.
How Does Automated Image Optimization Work?
Automated image optimization processes new uploads through resizing, compression, format conversion, and responsive image generation before they are delivered to visitors.
| Step | What happens automatically | Why it matters |
|---|---|---|
| Detect | New uploads trigger processing | Prevents optimization from being skipped |
| Inspect | Format, dimensions, size, and other properties are checked | Enables image-specific decisions |
| Resize | Oversized images are scaled down | Avoids unnecessary pixels |
| Compress | File size is reduced while maintaining acceptable quality | Reduces image bytes |
| Convert | WebP or other formats are generated where appropriate | Can reduce delivery size |
| Responsive versions | Multiple image sizes are created | Lets browsers request a suitable version |
| Deliver | The optimized asset is served | Ensures optimization reaches visitors |
| Verify | Output and real-world delivery are checked | Catches quality or performance problems |
Why Automate Image Optimization Instead of Doing It Manually?
Manual optimization can work for a small website with occasional uploads. It becomes harder to maintain when new images are added every day or by multiple people.
For example, an ecommerce store adding 50 products per month with six images each creates 300 new image files every month. If those uploads are not consistently optimized, the media library can become increasingly difficult to manage.
HTTP Archive’s July 2026 data shows median image bytes of about 1.06 MB on desktop and 893 KB on mobile per page, making images a significant part of what browsers download.
Automation changes the workflow from:
Upload → remember to optimize → optimize later
to:
Upload → optimize automatically → publish
That consistency is the real advantage. Optimization becomes part of the publishing process rather than another task for a developer, designer, or content team.
What Should Happen to an Image After You Upload It?
A useful image optimization automation workflow should do more than compress the original file. A practical pipeline looks like this:
Upload → Detect → Inspect → Resize → Compress → Convert → Generate responsive versions → Preserve SEO data → Deliver → Verify
1. Detect the New Upload
The first requirement is a trigger that recognizes when a new image enters the website.
Depending on the setup, this could be
- A CMS media-library event
- An ecommerce product-image upload
- An API request
- A storage-bucket event
- A server-side upload hook
The important part is that new uploads automatically enter the optimization workflow.
2. Inspect the Original Image
Before processing the file, check its:
- Format
- File size
- Width and height
- Transparency
- Animation
- Relevant metadata
This lets the workflow make decisions based on the image rather than applying identical settings to every upload.
3. Resize Oversized Images
Compression reduces file data, but it does not necessarily fix excessive dimensions.
For example, a 4,000 × 3,000 pixel product image may be displayed at only 800 pixels wide. Compressing it without resizing still leaves unnecessary pixels in the asset.
An automated workflow can set sensible maximum dimensions:
| Original | Possible output |
|---|---|
| 4000 × 3000 px | 1600 × 1200 px |
| 2500 × 2500 px | 1200 × 1200 px |
| 1600 × 900 px | 1600 × 900 px |
The correct limits depend on how the site actually displays its images. Google recommends using appropriately sized images and responsive techniques so browsers can select a suitable resource for the display context.
4. Compress the Image
Next, automatically compress images according to their characteristics and required quality. The goal should not be maximum compression at any cost. A workflow can use lossy compression when reducing file size is the priority, or lossless compression when preserving image details is more important.
For example:
- Product photo → Quality-controlled lossy compression
- Screenshot → Moderate compression to protect text
- Logo → Lossless compression to preserve transparency and sharp edges
This makes automated image compression more useful than applying one fixed setting to every upload.
5. Convert to WebP or Another Suitable Format
Automatic WebP conversion can be another stage of the workflow.
WebP can reduce file sizes for many common image types, while AVIF can provide another option where it fits the site’s browser and delivery requirements.
However, automatic conversion should not mean converting every file blindly. Transparency, image type, quality, browser support, and actual file-size savings should all be considered.
A sensible rule is:
Inspect → compress → compare suitable formats → serve the appropriate version.
6. Generate Responsive Image Sizes
One optimized image still may not be appropriate for every screen. A responsive workflow can generate several widths, such as
400px,
800px,
1200px,
1600px.
The page can then use srcset and sizes:
This lets the browser choose an appropriately sized image for the user’s display conditions. Google recommends responsive image techniques such as srcset and sizes to help serve suitable image resources across different screen sizes.
7. Preserve Image SEO and Accessibility Information
Image optimization should not interfere with the information search engines and users rely on to understand an image.
Keep descriptive filenames and stable image URLs where appropriate, preserve correct dimensions and aspect ratios, and make sure descriptive alt text remains correctly associated with the image in the page or CMS. Alt text is typically an HTML or CMS attribute rather than something stored inside the image file.
Google notes that descriptive filenames and useful alt text help search engines understand images, while alt text also supports accessibility. Compression improves delivery efficiency; it does not replace image SEO.
8. Deliver the Optimized Asset
Finally, the optimized version needs to become the image visitors actually receive. There are two common approaches:
- Replace the original: The optimized file becomes the primary asset.
- Serve an optimized derivative: The original is retained while visitors receive an optimized version.
Keeping the original can be useful when high-quality source files may be needed later, but it requires sensible storage and file-management practices.
Which Approach Should You Use to Automate Image Optimization?
There are several ways to build an automated workflow.
| Approach | New uploads automated? | Compression | Resizing | WebP/AVIF | Best for |
|---|---|---|---|---|---|
| Manual compression | No | Yes | Yes | Sometimes | Small websites |
| CMS-native optimization | Sometimes | Usually | Usually | Depends | Basic workflows |
| Image optimization plugin/app | Yes | Yes | Yes | Often | Ecommerce and CMS sites |
| Custom image pipeline | Yes | Yes | Yes | Yes | Developers and larger sites |
| Image CDN | Depends on the CDN/setup | Yes | Yes | Often | High-traffic/global sites |
The right choice depends on how often images are uploaded and how much control you need. A site with occasional uploads may not need a complex pipeline, while an ecommerce store with thousands of product images benefits more from automation.
How to Set Up Automated Image Optimization
Setting up automated image optimization starts by connecting your website’s image-upload process to an optimization system. When a new image is added, the system can apply predefined rules for compression, resizing, format conversion, and responsive image generation before the optimized asset is delivered.
The exact setup depends on your website platform. A CMS or ecommerce platform may support optimization through an app, plugin, or built-in workflow. Developers can also connect upload events to an image-processing service, API, storage event, or server-side function.
The important part is to make optimization part of the publishing workflow rather than a separate manual task. That way, new images follow the same optimization rules consistently instead of depending on someone to remember to process each file.
Can Image Optimization Be Automated for Every New Upload?
Yes, but the level of automation depends on the website platform and optimization setup. Some CMS integrations, apps, and image-delivery systems can automatically process new uploads, while other workflows may require images to be submitted for optimization manually.
Image Optimizer Pro supports automated optimization workflows on supported setups, including an Autosync capability advertised for new uploads. However, the exact workflow can vary by platform and image source, so confirm how new uploads are handled for your specific integration.
The goal is to make image optimization part of the publishing workflow so new images follow the site’s optimization rules instead of depending on someone to remember to process them later.
Automation Does Not Mean “Optimize Everything the Same Way”
An effective automation system should use rules, not one universal compression setting.
For example:
Product images:
→ Resize to approved maximum
→ compress
→ generate suitable modern format
→ create responsive sizes.
Logo:
→ Preserve transparency
→ avoid aggressive compression.
Hero image:
→ Compress carefully
→ retain required resolution
→ handle loading priority separately.
Gallery images:
→ Compress
→ create responsive sizes
→ lazy-load when appropriate.
This matters because image optimization and image loading are different tasks. A small image can still load late, while a well-compressed image can still be too large for the device receiving it. Responsive delivery, caching, and loading priority also affect the final experience.
Google recommends using preload selectively for critical resources rather than preloading images indiscriminately.
Which Images Should Be Optimized Automatically?
Most frequently uploaded raster images can benefit from automated processing, but the rules should vary.
| Image type | Compression | Resizing | Format conversion |
|---|---|---|---|
| Product photos | Yes | Usually | Often |
| Blog images | Yes | Usually | Often |
| Hero images | Yes | Carefully | Often |
| Logos | Carefully | Sometimes | Depends |
| Screenshots | Carefully | Usually | Depends |
| Animated GIFs | Specialized | Sometimes | Depends |
For vector assets such as logos and icons, raster optimization may not be the right approach.
How to Verify That Automatic Image Optimization Is Working
Don’t assume the workflow succeeded just because the file was processed.
Open Chrome DevTools → Network → Img and check:
- Transferred file size
- Image dimensions
- Requested format
- Request timing
- Cache behavior
- Responsive image selection
You can also test important pages with Lighthouse or PageSpeed Insights.
If images remain slow, look beyond compression. Image loading can also be affected by resource priority, caching, network conditions, and how quickly the browser discovers the image.
If an image is the LCP element, its delivery can directly affect LCP, so check the complete loading path rather than focusing only on file size.
Common Mistakes When Automating Image Optimization
A few problems appear repeatedly:
- Optimizing only existing images: New uploads remain untouched.
- Compressing without resizing: Large dimensions can still produce unnecessarily large files.
- Converting everything to WebP or AVIF: Format decisions should depend on the image and delivery setup.
- Using aggressive compression: Smaller files are not useful if important visual details are lost.
- Ignoring responsive images: One optimized file is not ideal for every viewport.
- Skipping verification: A technically successful workflow can still produce poor output.
Automation works best when it follows defined rules and those rules are periodically checked against real page performance.
Conclusion
The most reliable way to automate image optimization is to make it part of the upload workflow itself.
A strong process does not simply compress every new file. It detects, inspects, resizes, compresses, converts, creates responsive versions, preserves image SEO information, delivers the appropriate asset, and verifies the result.
For websites with frequent product or content uploads, this approach keeps image handling consistent as the site grows and reduces the need for manual cleanup later.
The goal is simple: optimize images when they enter the website, not weeks after they have already been published.
Frequently Asked Questions
Can I automatically optimize images when uploaded?
How do I automate image compression on upload?
Does automatic image optimization improve website speed?
Should I automatically convert every image to WebP?
Should automatic image optimization include resizing?
Can image optimization automation help Core Web Vitals?
28 September, 2026
Leave a Comment
Ishan Makkar
He is a web performance specialist focused on image optimization and site speed. As the founder of Image Optimizer Pro, he helps businesses reduce image load times and improve Core Web Vitals. His work centers on delivering faster websites, better user experience, and measurable SEO gains without complex development.