
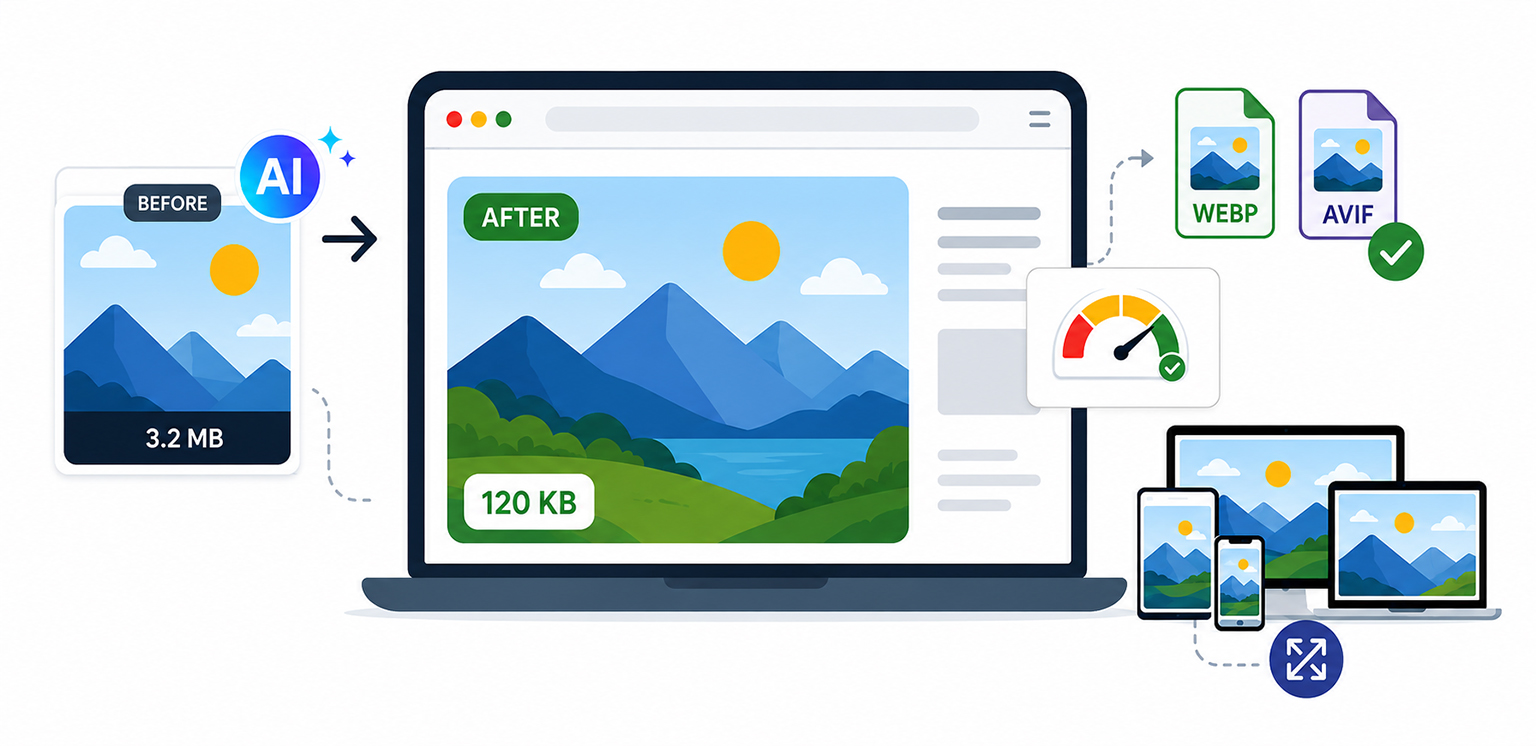
TL;DR: AI-generated image optimization comes down to delivering the right image at the right size, format, and quality. Resize oversized AI outputs, compress them, convert suitable images to WebP or AVIF, serve responsive versions, use the right loading strategy, and optimize filenames and alt text for SEO.
AI image generators make it easy to create high-quality visuals, but the files they produce aren’t necessarily ready for the web.
An AI-generated image may be much larger than its displayed dimensions, saved in an inefficient format, or contain more image data than visitors need. When several such images are added to a page, the extra weight can affect loading performance, particularly on mobile connections.
The good news is that you don’t need to stop using AI-generated visuals. You need a practical AI-generated image optimization workflow that covers both performance and SEO.
Quick Answer: How Do You Optimize AI-Generated Images?
| Optimization | What to do | Main benefit |
|---|---|---|
| Resize | Match the image to its actual display dimensions | Reduces unnecessary bytes |
| Compress | Remove unnecessary image data | Smaller downloads |
| Convert | Use WebP or AVIF where appropriate | Better compression |
| Use responsive images | Serve different sizes with srcset and sizes | Prevents oversized mobile downloads |
| Optimize loading | Lazy-load appropriate below-the-fold images | Reduces initial page work |
| Optimize for SEO | Use descriptive filenames, alt text, and relevant page context | Helps image understanding and discoverability |
| Measure | Check image transfer size and Core Web Vitals | Shows whether optimization actually helped |
Why AI-Generated Images Can Slow Down Websites
The main issue with an AI-generated image isn’t that it was created by AI. It’s that the resulting file may be much larger than the website needs.
For example, an AI tool might generate a 2048 × 2048 image. If the image appears inside a blog post at 700 × 700 pixels, serving the original file means downloading substantially more image data than necessary.
This becomes more noticeable when a page contains multiple AI-generated images. HTTP Archive’s July 2026 data puts median image bytes at about a 1,061 KB on desktop and 893 KB on mobile across the web.
That doesn’t mean every AI image needs to be tiny. It means the image should be appropriate for its actual use.
A useful way to think about AI image performance is:
Don’t ask, “How small can I make this image?” Ask, “What is the smallest image that still looks right at its intended display size?”
For identifying oversized assets before optimizing them, see how to find oversized images.
Best Ways to Optimize AI-Generated Images for Website Speed
AI-generated images can add unnecessary page weight when they’re uploaded at oversized dimensions or saved in inefficient formats. The best approach is to resize, compress, convert to modern formats, and serve responsive images based on how and where they appear on the page.
1. Resize AI-Generated Images to the Right Dimensions
AI image resizing should usually happen before compression.
Start by checking how large the image actually appears on the website. If a content area displays an image at 800 pixels wide, there is little reason to send a 3000-pixel-wide version to every visitor.
At the same time, don’t resize an image to an unnecessarily small dimension just because most visitors use mobile devices. The largest required display size should guide the source image and responsive variants.
For example:
- Original AI output: 3000 × 3000 px
- Maximum desktop display: 1000 × 1000 px
- Mobile display: 400 × 400 px
Instead of serving the 3000px original everywhere, create appropriately sized variants. This is particularly useful for ecommerce stores where the same AI-generated product image may appear as a thumbnail, category-card image, and full product image.
For larger catalogs, the same principle applies when you optimize thousands of product images.
2. Compress AI-Generated Images Without Over-Compressing Them
Once dimensions are appropriate, use AI image compression to reduce unnecessary file data.
Compression should balance file size and visual quality. A heavily compressed image may technically be smaller, but if it introduces visible artifacts, blurry details, or banding, you’ve gone too far.
This is especially important for AI-generated product images and detailed illustrations. Fine textures, gradients, shadows, and small text can reveal compression artifacts quickly.
A practical workflow is:
Resize → Compress → Inspect → Adjust → PublishDon’t judge the result only at 400% zoom. Check it at the size visitors will actually see.
Also, don’t focus only on the percentage saved. A reduction from 2 MB to 500 KB removes 1.5 MB from the download, while reducing a 100 KB file to 50 KB saves only 50 KB.
3. Convert AI Images to WebP or AVIF
File format can make a noticeable difference to AI image file size .
WebP and AVIF are modern image formats designed to provide efficient compression while retaining good visual quality. Web.dev recommends modern image formats as part of an effective image-performance strategy.
WebP AI Images
WebP AI images are a practical choice for many websites because WebP supports both lossy and lossless compression as well as transparency.
It can be particularly useful when replacing heavier JPEG or PNG versions without changing how the image appears to visitors.
AVIF AI Images
AVIF AI images can produce smaller files in many situations and are worth testing for photographic or highly detailed AI-generated visuals.
However, don’t assume AVIF is automatically better for every image. Compare the final file size and visual quality for your actual assets.
A simple <picture> implementation can provide format choices:
<picture>
  <source srcset="/images/ai-product.avif" type="image/avif">
  <source srcset="/images/ai-product.webp" type="image/webp">
  <img
    src="/images/ai-product.jpg"
    alt="Blue running shoes with white midsoles"
    width="800"
    height="800">
</picture>
The browser can select an appropriate supported format.
4. Serve Responsive AI Images
Resizing one AI image isn’t the same as serving responsive images. A responsive implementation gives the browser several image candidates so it can choose an appropriate file for the visitor’s screen and layout.
For example:
<img
  src="/images/ai-product-800.webp"
  srcset="
    /images/ai-product-400.webp 400w,
    /images/ai-product-800.webp 800w,
    /images/ai-product-1200.webp 1200w"
  sizes="(max-width: 600px) 400px, 800px"
  width="800"
  height="800"
  alt="Blue running shoes with white midsoles">
The srcset provides different image sizes, while sizes tells the browser how wide the image is expected to appear.
This matters because serving desktop-sized images to mobile devices can use substantially more data than necessary. Web.dev notes that responsive images can save data and can also help LCP when the LCP element is an image.
5. Use Lazy Loading for Appropriate Images
Lazy loading and compression solve different problems. Compression reduces the amount of data an image needs. Lazy loading delays the request until the image is likely to be needed.
For images below the fold, lazy loading can prevent unnecessary image requests during the initial page load:
<img
  src="/images/ai-product-800.webp"
  loading="lazy"
  width="800"
  height="800"
  alt="Blue running shoes with white midsoles">
But don’t automatically add loading="lazy" to every image.
An above-the-fold hero image may be part of the page’s LCP element. Delaying its request can make the main content appear later. Web.dev specifically advises against lazy-loading above-the-fold images for this reason.
6. Set Image Dimensions to Reduce Layout Shifts
When the browser doesn’t know an image’s dimensions before it loads, surrounding content can move as the image appears.
Defining width and height allows the browser to reserve the appropriate space.
<img
  src="/images/ai-hero.webp"
  width="1200"
  height="700"
  alt="AI-generated ecommerce shopping scene">
This is a small implementation detail, but it can help prevent unexpected layout movement and support a more stable page experience.
Step by Step: How to Optimize AI-Generated Images
For most websites, a simple workflow is enough:
Generate → Resize → Compress → Convert → Create responsive variants → Add SEO metadata → Set loading behavior → TestFor Individual AI Images
If you’re publishing one or two AI-generated images, inspect each image manually.
First, determine the largest size required by the layout. Resize the original, compress it, and compare WebP and AVIF where appropriate. Then add a descriptive filename and alt text.
Finally, check how the image behaves on mobile and desktop.
For Large Image Libraries
The process becomes harder when you’re dealing with hundreds or thousands of AI-generated assets.
In that situation, manual optimization can become inconsistent. A bulk compression process should handle resizing, compression, format conversion, and responsive variants systematically.
An image CDN can also help when different visitors need different image dimensions or formats. See what an image CDN is to understand how this approach works.
How to Optimize AI-Generated Images for SEO
Speed optimization is only half of the job. If an AI-generated image provides useful content, it should also be understandable and discoverable.
Google recommends helping search engines discover and understand images through factors such as the image URL, page content, filenames, and alt text.
1. Use Descriptive Image File Names
Avoid leaving the AI generator’s generic filename unchanged.
Instead of:
image_48291.pnguse something descriptive:
blue-running-shoes-side-view.webpThe filename should describe the image naturally. It doesn’t need to contain every possible keyword. Google describes filenames as a relatively light signal, while also recommending short, descriptive filenames.
2. Write Useful Alt Text
Alt text should explain the image when the image itself cannot be seen. For example:
alt="Blue men's running shoes with white midsoles"is useful when the image shows exactly that.
Avoid:
alt="AI generated images AI image SEO best AI images running shoes"That’s keyword stuffing rather than useful accessibility information. Google recommends descriptive, contextual alt text and specifically warns against filling alt attributes with keywords. If an AI-generated image is purely decorative, it may not need descriptive alt text.
3. Keep the Image Relevant to the Page
An AI-generated image should support the content around it. For example, an article about ecommerce image optimization could use an AI-generated visual showing a product-image workflow. A generic landscape inserted simply to break up the text doesn’t provide the same contextual value.
Google notes that image understanding can draw from the surrounding page content, captions, titles, and alt text.
So AI image SEO isn’t about putting keywords into every image attribute. It’s about making the image, page, and metadata consistent.
4. Make Important Images Crawlable
Even a well-optimized image can’t appear in image search if search engines can’t access or index it. Check that important images:
- Have crawlable URLs.
- Aren’t unnecessarily blocked.
- Are included on accessible pages.
- Are not loaded in a way that prevents discovery.
If images aren’t appearing in Google, don’t assume the issue is the filename or alt text. Check whether search engines can access and discover the image URL as part of the page.
5. Preserve AI Image Metadata When Required
AI-generated images can also carry metadata that provides information about how the image was created or edited. Where relevant, preserve supported image provenance and rights-related metadata instead of removing it during optimization.
For example, Google can use C2PA metadata to provide information about an image’s creation or AI editing in features such as About this image. For ecommerce use cases, Google also has specific requirements for AI-generated images in Merchant Center, including IPTC DigitalSourceType metadata.
How AI Image Optimization Affects Core Web Vitals
The connection between image optimization and Core Web Vitals is straightforward: smaller and appropriately sized image resources generally take less time to transfer and decode.
This becomes especially important when an image is the page’s LCP element.
| Optimization | What it can improve |
|---|---|
| Resizing | Reduces unnecessary image bytes |
| Compression | Reduces transfer size |
| WebP/AVIF | Can reduce image file size |
| Responsive images | Prevents oversized downloads |
| Correct loading priority | Helps important images load at the right time |
| width and height | Helps prevent layout shifts |
Web.dev notes that reducing image transfer size is one of the key ways to improve image loading, while responsive images can reduce resource load duration for LCP images.
If image optimization doesn’t resolve the performance issue, investigate other issues such as JavaScript, CSS, server response time, and third-party resources.
What Image Optimization Settings Should You Use for AI Images?
There isn’t one compression setting that works for every AI-generated image.
| AI image type | Practical approach |
|---|---|
| Photorealistic AI image | Test WebP or AVIF with lossy compression |
| Product image | Prioritize detail and accurate colors |
| Illustration | Compare WebP and AVIF at different quality levels |
| Transparent graphic | Use a format that preserves the required transparency |
| Text-heavy graphic | Prioritize text clarity over maximum compression |
| Hero image | Keep it efficient but prioritize timely loading |
The goal is always the same: reduce unnecessary bytes without making the image visibly worse.
How to Check Whether Your AI Images Are Actually Optimized
Don’t assume an image is optimized just because a compression tool reports a large percentage reduction. Check the actual page.
Look at:
- Original file size
- Final file size
- Image dimensions
- Rendered dimensions
- Actual transfer size
- Image format
- Loading behavior
- LCP and CLS
- Mobile performance
Google PageSpeed Insights and Chrome DevTools can help identify oversized images, inefficient loading, and other performance issues.
If you’ve already compressed your images but PageSpeed still reports problems, investigate the implementation rather than repeatedly compressing the same files.
Common AI-Generated Image Optimization Mistakes
Even well-designed AI-generated images can hurt website performance when they’re uploaded at excessive dimensions, poorly compressed, or delivered without responsive sizing. Avoiding these common mistakes helps keep AI image file size under control without compromising visual quality or SEO.
Uploading the Original AI Output
AI-generated files are often created at dimensions that aren’t necessary for their final web placement.
Fix: Resize them according to their actual display requirements.
Compressing Without Resizing
Compression alone may not solve an oversized image problem.
Fix: Resize first, then compress.
Using PNG for Every AI Image
PNG isn’t automatically the best format simply because the image was generated by an AI tool.
Fix: Test WebP or AVIF where their characteristics suit the image.
Serving One Large Image to Every Device
A desktop-sized image doesn’t need to be downloaded by every mobile visitor.
Fix: Use responsive image variants with srcset and sizes.
Lazy-Loading the LCP Image
Lazy loading of an important above-the-fold image can delay its request.
Fix: Reserve lazy loading primarily for images that aren’t immediately needed.
Over-Compressing the Image
The smallest file isn’t always the best file.
Fix: Compare visual quality at the actual display size.
Keyword-Stuffing Alt Text
Adding AI-related keywords to every alt attribute doesn’t make an image more SEO-friendly.
Fix: Describe what the image actually shows and keep the text useful.
Optimizing Images but Ignoring the Rest of the Page
Image optimization can address a major source of page weight, but it can’t fix every performance problem.
Fix: Once images are optimized, investigate other performance issues if Core Web Vitals remain poor.
AI-Generated Image Optimization Checklist
- Resize the AI-generated image to the required dimensions.
- Compress it while maintaining acceptable visual quality.
- Test WebP and AVIF where appropriate.
- Create responsive image variants for different display sizes.
- Add width and height attributes.
- Lazy-load appropriate below-the-fold images.
- Avoid unnecessarily lazy-loading important above-the-fold images.
- Use a descriptive filename.
- Write useful, natural alt text.
- Keep the image relevant to the page content.
- Make important image URLs crawlable.
- Test actual mobile and desktop performance.
Conclusion
AI-generated image optimization is mainly about avoiding unnecessary image weight while keeping the visual quality users expect. Resize oversized outputs, compress them carefully, use WebP or AVIF where appropriate, serve responsive versions, choose the right loading strategy, and optimize the image’s SEO signals.
A simple workflow, resize, compress, convert, serve responsively, optimize for search, and measure is enough to make AI-generated visuals much more practical for modern websites without sacrificing their visual value.
FAQs
Q1: Are AI-generated images bad for website speed?
Q2: How do I compress AI-generated images without losing quality?
Q3: What is the best format for AI-generated images?
Q4: Should AI-generated images be converted to WebP or AVIF?
Q5: Do AI-generated images need SEO optimization?
Q6: Do AI-generated images need different optimization than regular images?
Q7: Can AI image optimization improve Core Web Vitals?
19 August, 2026
Leave a Comment
Ishan Makkar
He is a web performance specialist focused on image optimization and site speed. As the founder of Image Optimizer Pro, he helps businesses reduce image load times and improve Core Web Vitals. His work centers on delivering faster websites, better user experience, and measurable SEO gains without complex development.