
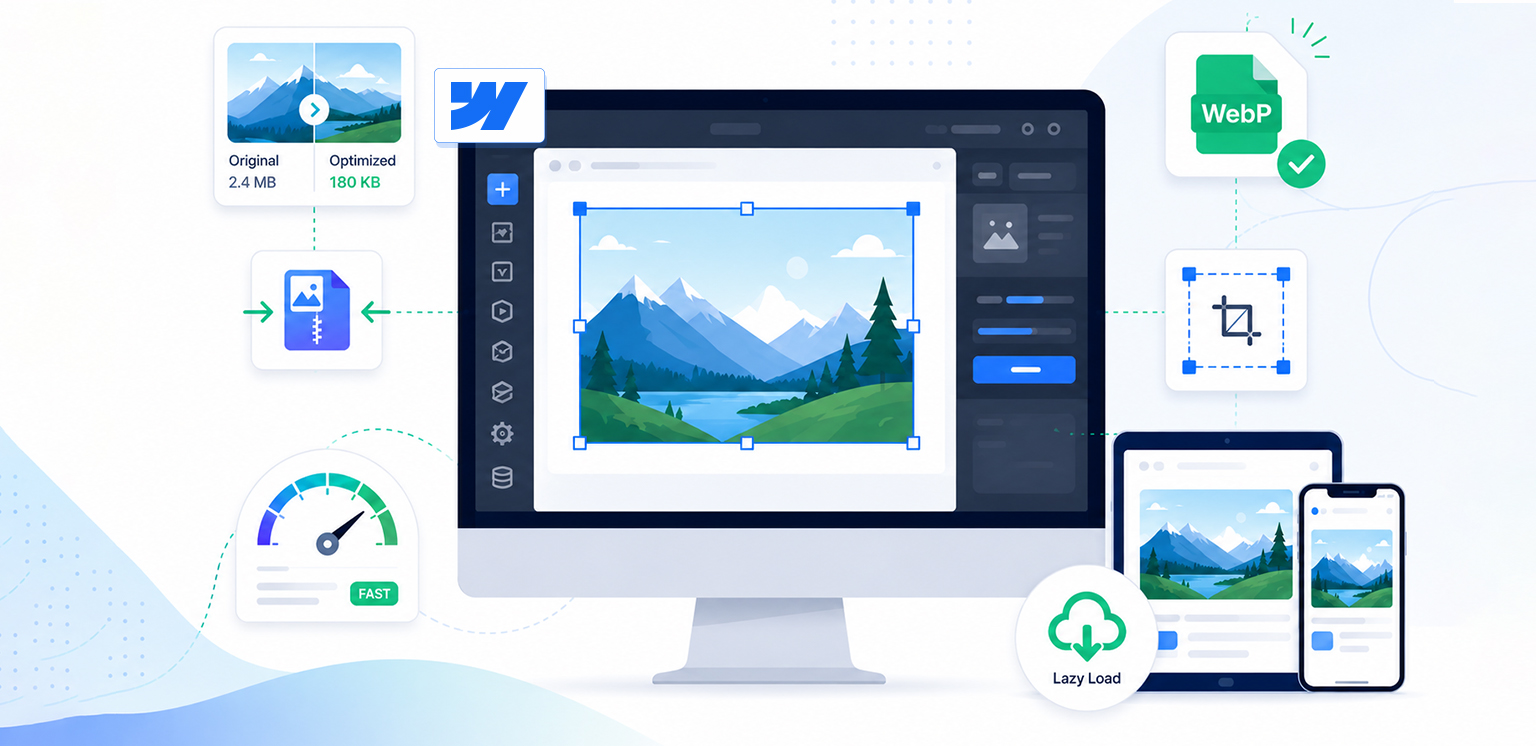
TL;DR: Webflow image optimization is one of the fastest ways to improve website speed, Core Web Vitals, SEO, and user experience. Compress images, use modern formats like WebP, choose the right dimensions, enable responsive images, lazy load below-the-fold content, and automate optimization to keep every new image fast without sacrificing quality.
Webflow image optimization plays a major role in how fast your website loads, how smoothly it performs on mobile devices, and how well it ranks in search results. Even beautifully designed Webflow sites can feel slow if images are larger than necessary or aren’t optimized properly.
While Webflow includes built-in image optimization features, they’re only part of the solution. Oversized uploads, inconsistent image dimensions, and growing media libraries can still affect website performance over time.
This Webflow image optimization guide explains the best practices for optimizing images in Webflow, improving website speed, and maintaining excellent visual quality. Whether you run a portfolio, SaaS website, blog, or ecommerce store, these strategies will help you deliver a faster experience to every visitor.
Quick Webflow Image Optimization Checklist
Before diving into the detailed best practices, here’s a quick overview of the most effective ways to optimize images in Webflow for faster loading, better Core Web Vitals, and improved SEO.
| Best Practice | Benefit for Faster Webflow Website |
|---|---|
| Upload correctly sized images | Reduces unnecessary page weight |
| Compress images | Speeds up page loading without sacrificing quality |
| Choose the right image format | Balances image quality and file size |
| Use responsive images | Serves the right image size for every device |
| Lazy load offscreen images | Improves initial page load speed |
| Follow Webflow image SEO best practices | Improves accessibility and search visibility |
| Optimize for Core Web Vitals | Helps improve LCP and overall performance |
| Monitor performance regularly | Identifies new optimization opportunities |
Why Webflow Image Optimization Matters
Webflow image optimization matters because it directly improves website speed, Core Web Vitals, user experience, and search visibility. Optimized images reduce the amount of data visitors need to download, helping pages load faster without compromising visual quality.
According to the HTTP Archive’s Web Almanac, images continue to account for the largest share of webpage weight on most websites, making image optimization one of the biggest opportunities for improving performance.
Google’s Core Web Vitals guidance also recommends optimizing images to reduce loading delays and improve user experience.
Optimizing images in Webflow helps you:
- Improve Largest Contentful Paint (LCP): Large hero images are often the biggest contributor to LCP. Optimizing them helps the main content appear faster.
- Reduce page load times: Smaller image files require less data to download, allowing pages to load more quickly across all devices.
- Improve mobile browsing experience: Mobile users often browse on slower networks. Optimized images help pages feel faster while reducing unnecessary data usage.
- Lower bandwidth usage: Compressed images transfer less data to visitors, helping pages load more efficiently while reducing unnecessary data usage across different devices.
- Support better search rankings: Although image optimization isn’t a direct ranking factor, it improves Core Web Vitals and page experience, which contribute to better SEO performance.
- Increase visitor engagement and conversions: Visitors are more likely to stay, browse additional pages, and complete actions when pages load quickly and images appear without delay.
If your PageSpeed Insights report flags oversized images or next-generation formats, image optimization is often one of the easiest performance improvements you can make.
How to Optimize Images in Webflow for Better Speed – 8 Best Practices
Webflow offers several built-in image optimization features, but getting the best results requires following a few proven practices. The recommendations below will help you improve website speed, maintain image quality, and build a more SEO-friendly Webflow website.
1. Upload Images at the Correct Dimensions
One of the most common mistakes is uploading images that are far larger than they will ever be displayed. For example, uploading a 5000 px wide hero image that displays at only 1400 px forces visitors to download unnecessary data.
Instead:
- Match image dimensions to the maximum display size.
- Avoid uploading oversized originals directly from a camera.
- Resize images before publishing whenever possible.
Following proper Webflow image sizes reduces download time while maintaining visual quality.
Choosing appropriate image sizes for websites helps prevent visitors from downloading more pixels than necessary.
2. Compress Images Without Sacrificing Quality
Compression is one of the most effective ways to improve Webflow website speed optimization. It removes unnecessary image data while maintaining visual quality, reducing page weight without noticeably affecting appearance.
For the best results, use a combination of manual and automated image compression depending on how often you publish new content.
Manually Compress Images
If you only upload images occasionally, you can compress them before adding them to Webflow. This helps reduce file sizes while giving you full control over image quality. This method provides precision, but it can be time-consuming when you have to compress images in bulk.

Choose the right compression method based on the image type:
- JPEG for photographs
- PNG only when transparency is needed
- WebP for most website images
- SVG for logos and icons
Automate Image Compression (Recommended Method)
If you regularly update your Webflow website, manually compressing every image can quickly become time-consuming. Automating the process helps maintain consistent image quality and performance without adding extra work to your workflow.
With Image Optimizer Pro, simply connect your Webflow website, open the Optimize Images section, and start the optimization process. The app automatically compresses your existing images in bulk and optimizes future uploads in the background, helping improve loading speed across both desktop and mobile devices.
This approach makes it easier to maintain long-term Webflow image optimization while ensuring every image follows the same optimization standards.

Image Optimizer Pro automates Webflow image optimization by:
- Compressing existing and newly uploaded images
- Converting supported images to WebP
- Performing bulk image optimization
- Maintaining consistent optimization across your website
Automation saves time while ensuring every new image follows the same optimization standards without requiring manual work.
3. Choose the Right Image Format
Using the right image format is just as important as compressing your images. Different formats are designed for different types of content, and choosing the wrong one can unnecessarily increase page size.
As a general rule:
- WebP offers excellent compression and is the preferred choice for most website images.
- JPEG works well for photographs with many colors.
- PNG should be reserved for images that require transparency.
- SVG is ideal for logos, icons, and simple graphics because it scales without losing quality.
Selecting the appropriate format helps reduce file sizes while maintaining visual clarity. Understanding the differences between formats such as JPEG, PNG, WebP, and AVIF makes it easier to choose the most suitable option for each type of image.
4. Use Webflow Responsive Images
One of Webflow’s biggest advantages is automatic responsive image generation.
Instead of serving one large image to every visitor, Webflow creates multiple versions and delivers the most appropriate size based on the visitor’s screen.
This means:
- Mobile devices download smaller files.
- Desktop users still receive high-quality images.
- Overall bandwidth is reduced.
Responsive images are especially valuable for improving mobile performance and supporting Webflow Core Web Vitals.
Remember that responsive images don’t replace proper compression, they work best together.
5. Lazy Load Offscreen Images
Not every image needs to load immediately when a visitor opens a page. Lazy loading delays the loading of images that are outside the initial viewport until the user scrolls to them, reducing the amount of data downloaded during the first page load.
For the best results:
- Lazy load images below the fold.
- Avoid lazy loading above-the-fold hero images, as they often contribute to Largest Contentful Paint (LCP).
- Combine lazy loading with responsive images for better performance across different devices.
Using lazy loading correctly can improve Webflow website speed optimization, especially on image-heavy pages.
6. Follow Webflow Image SEO Best Practices
Image optimization isn’t only about improving website speed, it also helps search engines understand your content and makes your website more accessible. Following Webflow image SEO best practices can improve your visibility in image search while supporting a better user experience.
Before uploading images:
- Use descriptive filenames such as
modern-office-interior.webpinstead ofIMG_1234.jpg. - Write concise, meaningful alt text that accurately describes the image.
- Include relevant keywords naturally where appropriate, but avoid keyword stuffing.
- Keep filenames and alt text relevant to the surrounding page content.
These simple practices strengthen your Webflow image SEO, improve accessibility, and help search engines better understand and index your images.
7. Optimize Images for Core Web Vitals
Images directly affect Webflow Core Web Vitals, especially Largest Contentful Paint (LCP). Since hero images are often the largest visible element on a page, oversized or unoptimized files can delay rendering and slow down the perceived loading experience.
To improve Webflow website speed optimization:
- Compress large hero images.
- Avoid unnecessarily high resolutions.
- Use responsive images.
- Lazy load below-the-fold content.
- Preload only your primary above-the-fold hero image when appropriate.
Understanding the difference between responsive images and lazy loading also helps avoid unnecessary downloads while improving loading speed.
8. Monitor Performance Regularly
Webflow image optimization is an ongoing process rather than a one-time task. As you publish new pages and upload new media, regularly monitoring performance helps ensure your website remains fast.
Review your site regularly using:
Watch for recommendations involving:
- Properly sized images
- Efficient image encoding
- Next-generation image formats
- Largest Contentful Paint improvements
Routine monitoring helps catch problems before they affect visitors.
Common Webflow Image Optimization Mistakes
Even with Webflow’s built-in optimization features, a few common mistakes can prevent your website from achieving its best performance. Most issues stem from inconsistent image management rather than Webflow itself.
Common mistakes include:
- Uploading original high-resolution photos directly from a camera
- Using PNG files when JPEG or WebP would be more efficient
- Skipping image compression before uploading
- Uploading images much larger than their display size
- Missing or generic alt text
- Lazy loading above-the-fold hero images
- Forgetting to optimize newly added images
- Using inconsistent image dimensions across similar sections
Regularly reviewing your media library helps identify these issues before they begin affecting website speed, Core Web Vitals, or user experience.
Conclusion
Effective Webflow image optimization goes beyond reducing file size. Choosing the right image dimensions, applying effective compression, using responsive images, improving image SEO, and monitoring performance all contribute to a faster, more efficient website.
By following these best practices consistently, you’ll improve Webflow website speed optimization, strengthen Core Web Vitals, and provide a better experience for every visitor while making future image management far easier.
Frequently Asked Questions
Does Webflow automatically optimize images?
What is the best image format for Webflow?
Does image optimization improve Webflow SEO?
How do I optimize images in Webflow?
Can image compression reduce image quality?
Does image optimization improve Core Web Vitals?
What are the recommended Webflow image sizes?
Is bulk image optimization useful for Webflow websites?
27 July, 2026
Leave a Comment
Ishan Makkar
He is a web performance specialist focused on image optimization and site speed. As the founder of Image Optimizer Pro, he helps businesses reduce image load times and improve Core Web Vitals. His work centers on delivering faster websites, better user experience, and measurable SEO gains without complex development.