
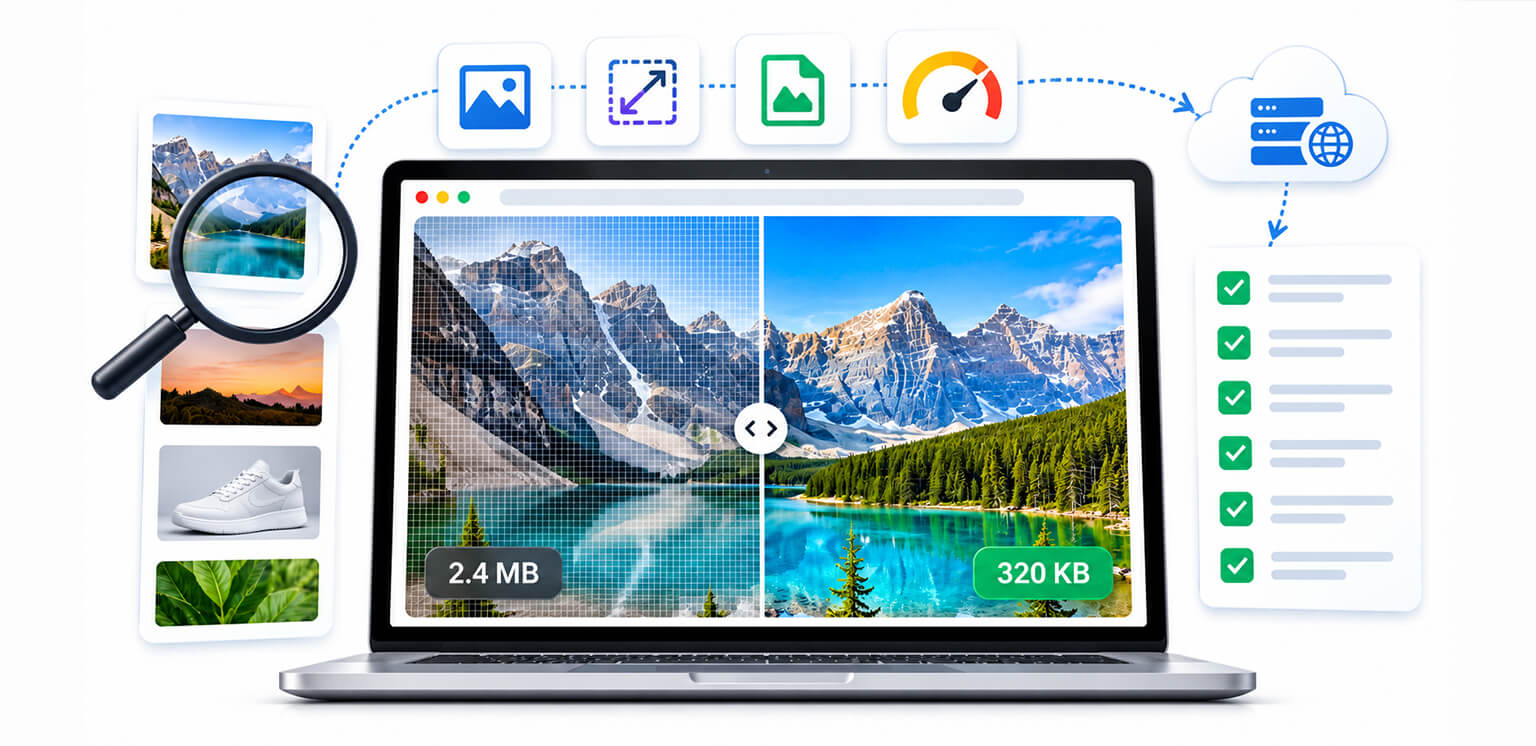
TL;DR: An image optimization audit checks whether your website images are properly sized, compressed, formatted, responsive, crawlable, and loaded at the right time. Review image size, dimensions, formats, srcset, lazy loading, LCP images, CDN delivery, and PageSpeed data, then fix the highest-impact issues first.
Image optimization is not a one-time task. New product images, blog graphics, banners, and design changes can gradually introduce oversized files, inefficient formats, and loading problems.
A regular website image optimization audit helps identify these issues before they affect page performance, user experience, or image SEO.
The goal is not to make every image as small as possible. It is to deliver the right image at the right size, format, quality, and loading priority.
What Should an Image Optimization Audit Check?
An image optimization audit should check file size, dimensions, formats, compression, responsive delivery, loading behavior, and image SEO elements such as alt text and filenames.
| Audit area | What to check |
|---|---|
| Image size | Make sure files are not unnecessarily large for their displayed dimensions. |
| Compression | Reduce unnecessary bytes without visible quality loss. |
| Image formats | Use an appropriate format for each image type. |
| Responsive images | Check srcset, sizes, and appropriate image variants. |
| Loading | Lazy load suitable below-the-fold images without delaying important content. |
| LCP images | Make important above-the-fold images discoverable and properly prioritized. |
| CDN delivery | Check whether the image CDN actually delivers suitable variants efficiently. |
| SEO | Review alt text, filenames, URLs, crawlability, and page context. |
What Is an Image Optimization Audit?
An image optimization audit is a systematic review of the images and image-delivery methods used across a website.
It examines both the image file and how the browser receives it. For example, a 2,400 × 1,600 product image displayed at 600 × 400 pixels may look sharp but still transfer significantly more data than necessary.
Likewise, a small, compressed image can still cause problems if it is incorrectly lazy-loaded or served at the wrong dimensions.
The 2025 Web Almanac reported median image bytes of about 911 KB for mobile home pages and 1,058 KB for desktop home pages, showing why image weight remains an important part of page performance.
How to Perform an Image Optimization Audit: Complete Checklist
A simple audit workflow is: Crawl → Identify → Measure → Prioritize → Fix → Recheck. Start by finding images across important page types, measure their size and delivery, prioritize the issues with the greatest impact, then verify the results after fixing them.
This approach keeps the audit focused on actual performance problems instead of treating every image issue as equally important.
Use this checklist to audit image performance and SEO across your website, from oversized files and inefficient formats to responsive delivery, loading behavior, CDN performance, and accessibility.
1. Inventory Your Website Images
Start by identifying the images used across important page types:
- Homepage and landing pages
- Product and category pages
- Blog posts
- Service pages
- Collection pages
- Campaign pages
Do not audit only the homepage. Ecommerce product and category templates can have very different image problems. For larger websites, start with representative URLs from each page type, then expand the audit to the wider site.
Record each affected URL, image URL, file size, source and rendered dimensions, loading behavior, identified issue, and recommended fix. This makes it easier to compare findings, prioritize work, and verify improvements after implementation.
Tools such as Chrome DevTools, Lighthouse, PageSpeed Insights, CMS media libraries, and CDN reports can help identify problem areas. If oversized files are a recurring issue, begin by finding them and prioritizing those contributing the most bytes.
2. Compare Image Dimensions With Display Size
Check whether the source image is substantially larger than its rendered size.
For example, if a product image is displayed at 500 pixels wide but the browser downloads a 2,000-pixel version, the extra resolution may provide little visible benefit.
Review:
Source dimensions → rendered dimensions → device dimensions
For responsive layouts, use multiple image sizes instead of sending the largest file to every device.
Responsive images allow the browser to select a suitable resource for the user’s device and layout.
3. Check File Size and Compression
Next, look at how much data each image adds to the page. There is no single file-size target that works for every image. A large hero image and a small icon naturally have different requirements.
Check whether:
- The file is larger than necessary for its display size.
- Compression could reduce the file size without noticeable quality loss.
- The current quality level is appropriate for the image.
- Duplicate or alternate versions are adding unnecessary bytes.
The goal is to reduce unnecessary image data while keeping the image visually useful. Lossy and lossless compression suit different situations, depending on the image type and how much detail needs to be preserved.
For websites with large image libraries, reviewing files in batches can also make an image optimization audit more practical than checking individual images one at a time.
4. Review Image Formats
Your image audit checklist should include the format used for important assets.
JPEG can work well for photographs, PNG can be useful for lossless graphics and transparency, while WebP can provide smaller files for many web images.
There is no need to convert every image to the same format. Choose image format based on the content and browser-delivery requirements.
| Asset | Common options |
|---|---|
| Product photography | JPEG, WebP |
| Transparent graphics | PNG, WebP |
| Logos and icons | SVG where appropriate |
| Illustrations | SVG, WebP, PNG depending on the asset |
5. Audit Responsive Images
Responsive delivery is separate from compression. A 300 KB image can still be inefficient if every mobile visitor receives a 2,000-pixel-wide version.
Check for:
srcsetprovides appropriate image variants for different display sizes.- sizes accurately describes the image’s expected rendered width.
- Suitable image variants are available for different layouts.
- CSS preserves the intended dimensions and aspect ratio.
- The browser requests an appropriately sized image for the actual layout and device.
For example:
The browser can then choose an appropriate source.
This differs from lazy loading: responsive images vs. lazy loading explains how one controls which image is requested, while the other affects when an image is requested.
6. Check Lazy Loading and Loading Priority
Lazy loading is useful for images below the fold, but applying it to every image can delay important content.
Check that:
- Below-the-fold images are lazy loaded where appropriate.
- Important above-the-fold images are not unnecessarily lazy loaded.
- The LCP image can be discovered early.
- Only genuinely important resources receive high priority.
Google recommends lazy loading appropriate offscreen images while avoiding unnecessary delays for critical images.
If an image is the page’s LCP element, check whether the browser discovers it early and assigns it appropriate loading priority. When testing identifies a priority issue, consider fetchpriority="high" for that image. Avoid assigning high priority to multiple images indiscriminately.
7. Check Width and Height Attributes
When the image dimensions are known, include width and height attributes.
These attributes help the browser reserve the correct aspect-ratio space before the image loads, reducing unexpected layout movement. CSS can still control the image’s final rendered size.
8. Use PageSpeed Insights to Validate Problems
Run important URLs through Google PageSpeed Insights and review image-related opportunities such as:
- Properly size images
- Efficiently encode images
- Serve images in modern formats
- Defer offscreen images
- Image request chains
Do not treat every recommendation as an automatic instruction.
For example, if an image is already appropriately sized and compressed, converting it again may provide little benefit. Similarly, image optimization alone will not resolve every PageSpeed or Core Web Vitals problem.
Use the data to determine which image optimization issues are actually affecting the page.
9. Audit the LCP Image
If an image is the Largest Contentful Paint element, inspect it separately.
In Chrome DevTools, check:
How is it discovered? → When does the request start? → How large is it? → When does it render?
An LCP image may be delayed because it is unnecessarily lazy-loaded, discovered late through JavaScript, excessively large, or inefficiently delivered.
Image optimization and Core Web Vitals are closely related, but the appropriate fix depends on the actual loading behavior.
10. Review Your Image CDN
If your site uses an image CDN, check what it actually delivers.
Review:
- Image resizing
- Format conversion
- Compression
- Cache behavior
- Responsive variants
- CDN and origin URLs
A CDN can improve delivery, but it does not automatically correct oversized source files or poor responsive implementation.
11. Check Image SEO
An image audit should also cover accessibility and search visibility. Review whether important images have:
- Descriptive alt text
- Useful filenames where appropriate
- Relevant surrounding context
- Crawlable image URLs
For important images, check that search engines can access their URLs and discover them through supported implementations. Standard HTML <img> elements with a valid src attribute help Google discover images. If important images are not being discovered, review the rendered HTML and consider whether an image sitemap would help.
For example:
Alt text should describe the image’s useful content or function, not be written primarily for keyword placement.
12. Prioritize the Findings
Not every issue has the same impact.
| Priority | Example | Action |
|---|---|---|
| High | Oversized LCP image | Resize, compress, improve delivery |
| High | Large mobile images | Add responsive variants |
| Medium | Poorly compressed images | Recompress or convert |
| Medium | Incorrect lazy loading | Adjust loading behavior |
| Low | Minor filename issues | Improve during normal updates |
Prioritizing high-impact resources keeps the website image audit focused instead of turning it into a long list of minor corrections.
Can Image Optimization Audits Be Automated?
Yes. Automation can make an image optimization audit much easier on websites with large image libraries or frequent uploads. Instead of checking every file manually, automated tools can flag oversized images, apply compression, and help keep optimization consistent over time.
You can use tools like Image Optimizer Pro to automate parts of the process, particularly when reviewing and maintaining a large number of website images. This reduces the amount of repetitive manual checking while still leaving room for human review.
Manual checks are still useful for important images where quality, cropping, transparency, or visual presentation matters.
Common Image Audit Mistakes
- Checking only file size: Dimensions, loading behavior, and delivery also matter.
- Converting everything to one format: Different assets have different requirements.
- Lazy loading every image: Important above-the-fold images can be delayed unnecessarily.
- Auditing only the homepage: Product, category, blog, and landing-page templates may behave differently.
- Chasing a perfect PageSpeed score: Focus on actual performance problems rather than recommendations in isolation.
- Ignoring new uploads: Image issues can return if newly added assets are not included in the optimization workflow.
Final Image Optimization Audit Checklist
Before completing your audit, verify:
- Image dimensions versus rendered dimensions
- File size and compression
- Image formats
srcsetandsizes- Responsive image delivery
- Width and height attributes
- Lazy loading
- LCP image priority
- CDN delivery
- Image request timing
- PageSpeed Insights opportunities
- Alt text and image context
- Crawlability
- High-traffic templates
- Newly uploaded images
Conclusion
A useful image optimization audit looks beyond compression. It evaluates the complete path from the original image to the browser: dimensions, file size, format, responsive delivery, loading priority, CDN behavior, SEO, and real performance data.
Fix the highest-impact issues first, then maintain those improvements as new images are added. That approach keeps image performance consistent as the website grows.
FAQs
What is an image optimization audit?
How do I perform an image audit?
What is the most important part of an image optimization audit?
How often should I perform a website image audit?
Does an image CDN replace image optimization?
Can image optimization improve Core Web Vitals?
26 October, 2026
Leave a Comment
Ishan Makkar
He is a web performance specialist focused on image optimization and site speed. As the founder of Image Optimizer Pro, he helps businesses reduce image load times and improve Core Web Vitals. His work centers on delivering faster websites, better user experience, and measurable SEO gains without complex development.