
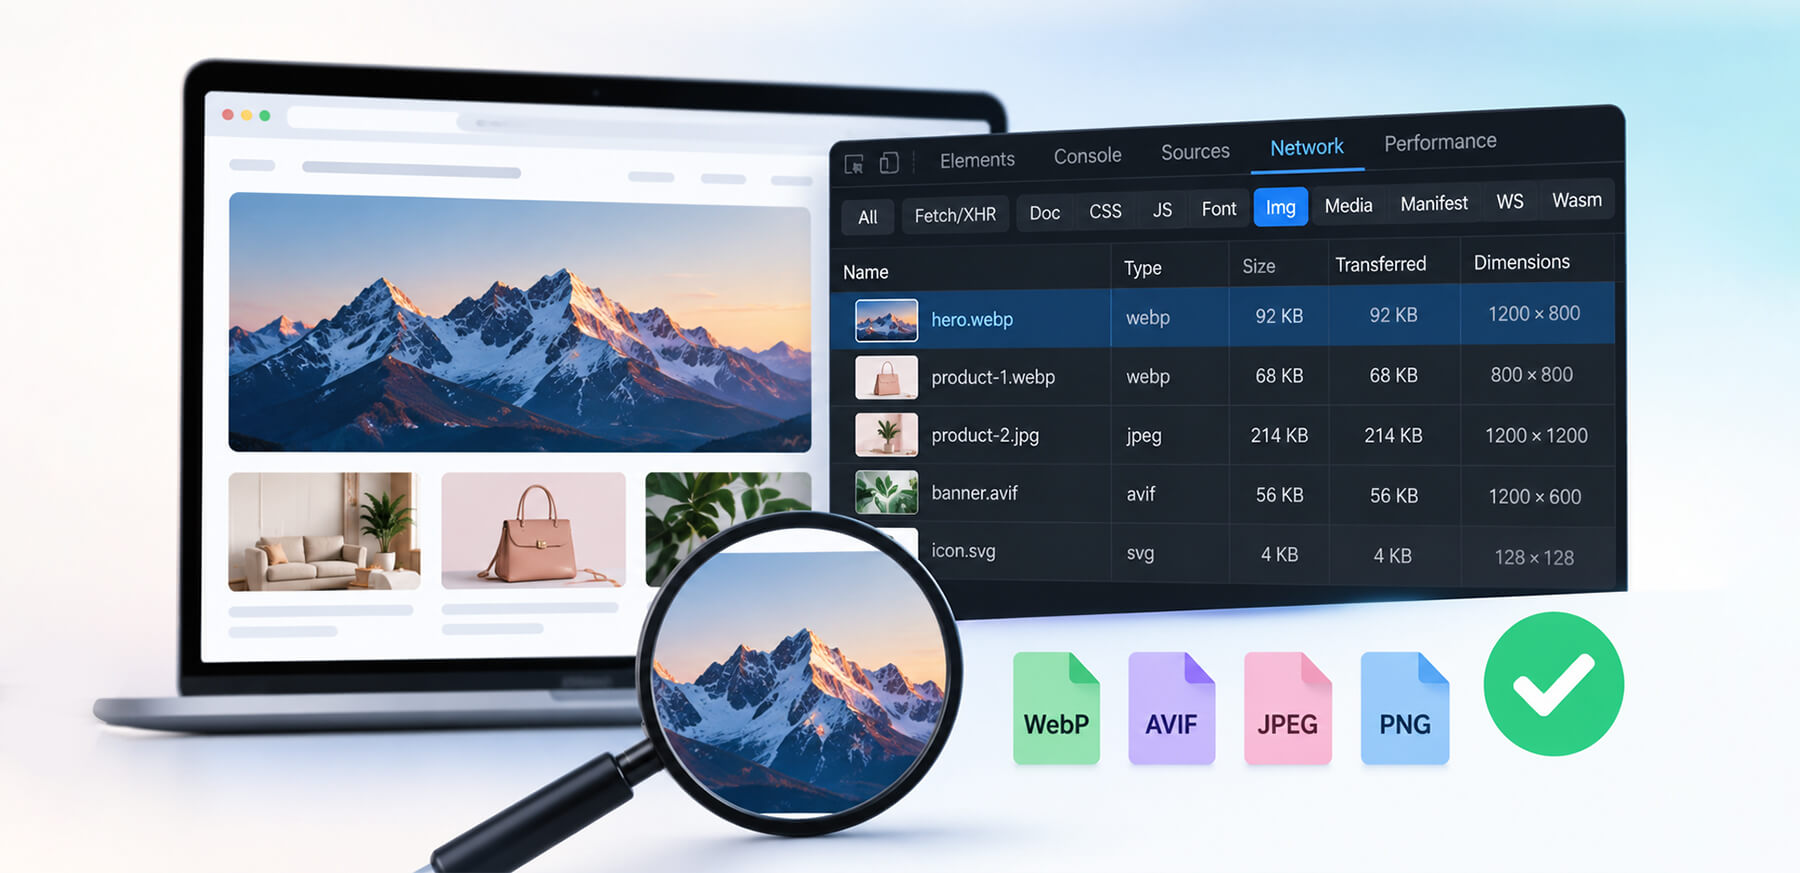
TL;DR: To verify that your website is serving optimized images, inspect actual image requests in Chrome DevTools. Check file size, format, dimensions, responsive delivery, and loading behavior. An image can be compressed in your media library but still be served too large or in an inefficient format.
Compressing an image does not automatically mean your website is serving an optimized image.
A product photo might be compressed but still delivered at 2,000 pixels when it only appears at 400 pixels. Your media library may contain a WebP version while the browser still receives a JPEG.
The most reliable way to check if images are optimized is to inspect what the browser actually downloads, rather than relying only on how the original file was processed.
How to Verify a Website Serving Optimized Images
- Inspect image requests: Open Chrome DevTools → Network → Img, then reload the page to see the images actually being downloaded.
- Check file size and format: Review the transferred size and confirm the browser receives an appropriate format such as WebP, AVIF, JPEG, or PNG.
- Compare dimensions: Check whether the downloaded image dimensions are reasonably close to the size displayed on the page.
- Verify responsive delivery: Confirm
srcset,sizes, or<picture>serves an appropriate source for the visitor’s screen. - Check loading behavior: Make sure important above-the-fold images load promptly while offscreen images can be deferred.
In short: inspect the image resources the browser actually downloads, not just the files stored in your media library.
What Does Serving an Optimized Image Actually Mean?
A website is serving optimized images when the browser receives images that are appropriately sized, compressed, encoded, and delivered for the device and page context.
Optimization is therefore more than reducing file size. For example, a 600 × 600 product image could look like this:
| Version | Dimensions | File size |
|---|---|---|
| Original JPEG | 3000 × 3000 | 1.2 MB |
| Compressed JPEG | 3000 × 3000 | 700 KB |
| Responsive WebP | 800 × 800 | 90 KB |
The compressed JPEG is smaller than the original, but it may still be unnecessarily large for the page. The responsive WebP is much closer to what the browser needs.
That is why an image optimization audit should examine the delivered resource, not only the source file.
Ways to Check if Your Website Is Serving Optimized Images
You can assess image optimization by checking file size, dimensions, format, compression, and how images are delivered to users. These checks help identify images that may be unnecessarily large or slowing down page performance.
1. Open Chrome DevTools and Inspect Image Requests
Start with an important page such as a homepage, product page, category page, or blog post.
Open Chrome DevTools with Inspect, select the Network panel, reload the page, and filter the requests by Img. You can now see the images the browser actually requested.
Click an image request and check:
- Request URL
- Type
- Size
- Transferred
- Time
- Initiator
The Size column helps you assess image response size. Depending on the request, it can show the amount transferred over the network or the resource’s uncompressed size. Select an image request and inspect its details when you need to distinguish between the two.
For example, if a small thumbnail results in a 1.5 MB download, it is worth investigating. Also look for duplicate requests, unexpected formats, oversized sources, or images being delivered from an unexpected URL.
2. Check the Image Format
Do not assume the format from the original filename. Inspect the actual image request and its response details. Common formats include:
| Format | Typical use |
|---|---|
| JPEG | Photographs and complex images |
| PNG | Transparency or lossless graphics |
| WebP | General web images requiring efficient compression |
| AVIF | Highly compressed images where appropriate |
| SVG | Logos, icons, and vector graphics |
There is no rule that every image should use WebP or AVIF. The appropriate format depends on the image type, transparency requirements, browser support, and quality needs.
3. Compare Image Dimensions With Display Size
An image can be well compressed and still be too large. Compare the image’s intrinsic dimensions with the size at which it is rendered.
For example:
Rendered: 400 × 400 px
Downloaded: 2400 × 2400 px
The browser may be downloading more pixels than the display requires, but a larger source is not automatically a problem. Account for the device’s pixel ratio when evaluating image dimensions.If the downloaded image is substantially larger than necessary for its rendered size and display density, check whether a smaller responsive source could preserve visual quality while reducing transferred bytes.
4. Verify Responsive Image Delivery
Responsive images allow the browser to choose a suitable source based on the viewport and display requirements.
Look for markup such as:
srcset provides multiple image candidates, while sizes tells the browser how much space the image is expected to occupy. Then inspect the Network panel to see which source was actually requested.
If mobile and desktop users consistently receive the same very large image, responsive delivery may not be working as intended.
5. Check Whether Compression Reduced the Delivered File Size
A file being described as “optimized” does not tell you how much data the visitor receives. Inspect several important image requests and compare their transferred sizes with their dimensions and visual complexity.
For example:
| Image | Display size | Format | Transferred |
|---|---|---|---|
| Hero | 1440 × 600 | WebP | 145 KB |
| Product | 600 × 600 | WebP | 72 KB |
| Thumbnail | 160 × 160 | WebP | 18 KB |
| Banner | 1600 × 500 | JPEG | 480 KB |
These are examples, not universal pass/fail thresholds. A suitable file size depends on the image’s dimensions, content, quality requirements, and role on the page.
6. Check When Images Are Loading
Image optimization also involves when a resource is requested. A large image visible immediately on the page may need to load early, while images far below the fold can often be lazy-loaded:
However, applying lazy loading to an important above-the-fold image can delay its appearance. So when you inspect image requests, look at both the image itself and its loading behavior.
How to Use PageSpeed Insights to Verify Image Optimization
Chrome DevTools shows what the browser actually requested. Google PageSpeed Insights can identify broader image-related performance opportunities.
Look for image-related recommendations in the report, such as:
- Improve image delivery: Identify opportunities to reduce image bytes through appropriate sizing, encoding, and delivery.
- Defer offscreen images: Check whether images outside the initial viewport can be loaded later.
- LCP image opportunities: Investigate whether the main image needs better prioritization or earlier discovery.
The exact audit names and recommendations may vary by Lighthouse version and page. Treat them as diagnostic clues, then inspect the relevant image requests in Chrome DevTools before making changes.
If PageSpeed identifies a 900 KB image, inspect that specific request in DevTools. Check its dimensions, format, rendered size, and purpose before deciding what to change.
A Quick Image Optimization Test
For a practical image optimization test, choose three to five representative pages and check these areas:
- File size: Are the largest image requests reasonable for their dimensions?
- Format: Is each image using an appropriate format?
- Dimensions: Is the downloaded source significantly larger than its rendered size?
- Responsive delivery: Are
srcset,sizes, or<picture>providing suitable sources? - Loading behavior: Are important images prioritized while offscreen images are deferred appropriately?
After making changes, repeat the same checks under comparable conditions. This gives you a more reliable way to verify image optimization than checking whether an image was compressed at some point in the workflow.
Can Image Optimization Be Automated?
Yes. Automation is particularly useful for websites with large image libraries or frequent new uploads. Manual inspection is valuable for diagnosing individual pages, but checking every product image, thumbnail, and newly uploaded asset becomes difficult at scale.
Automated image optimization can reduce repetitive work through compression, resizing, and format conversion. Tools such as Image Optimizer Pro support image optimization workflows, although the available features and handling of new uploads can vary by platform and setup.
Regardless of how images are optimized, verify the delivered resources in Chrome DevTools. This confirms whether the changes are reflected in the images the browser actually downloads.
What Should an Image Optimization Audit Check?
A practical image optimization audit should answer five questions:
| Audit question | Why it matters |
|---|---|
| Is the image unnecessarily large in bytes? | Reduces avoidable data transfer |
| Is the format appropriate? | Can improve compression efficiency |
| Is the source larger than its rendered size? | Prevents oversized downloads |
| Is the correct responsive source selected? | Adapts delivery to the viewport |
| Is the loading strategy appropriate? | Controls when resources are requested |
There is no universal file-size target that every image should meet. Dimensions, visual complexity, format, compression level, and page role all affect the appropriate result.
The goal is to deliver the right image, at the right size, in the right format, at the right time.
Conclusion
The most reliable way to determine whether your website is serving optimized images is to inspect the resources visitors actually download.
Check file size, format, dimensions, responsive delivery, and loading behavior, then use PageSpeed Insights to identify broader performance opportunities.
An image is not fully optimized simply because it was compressed once. The real test is whether your website delivers an appropriately sized and encoded image at the right time for the device and page context.
FAQs
Q1: How do I check if my images are optimized?
Q2: What is a good image file size for a website?
Q3: How can I check what image format my website is serving?
Q4: Does WebP automatically mean an image is optimized?
Q5: How can I verify responsive images are working?
Q6: Can PageSpeed Insights confirm that my website serves optimized images?
28 October, 2026
Leave a Comment
Ishan Makkar
He is a web performance specialist focused on image optimization and site speed. As the founder of Image Optimizer Pro, he helps businesses reduce image load times and improve Core Web Vitals. His work centers on delivering faster websites, better user experience, and measurable SEO gains without complex development.