
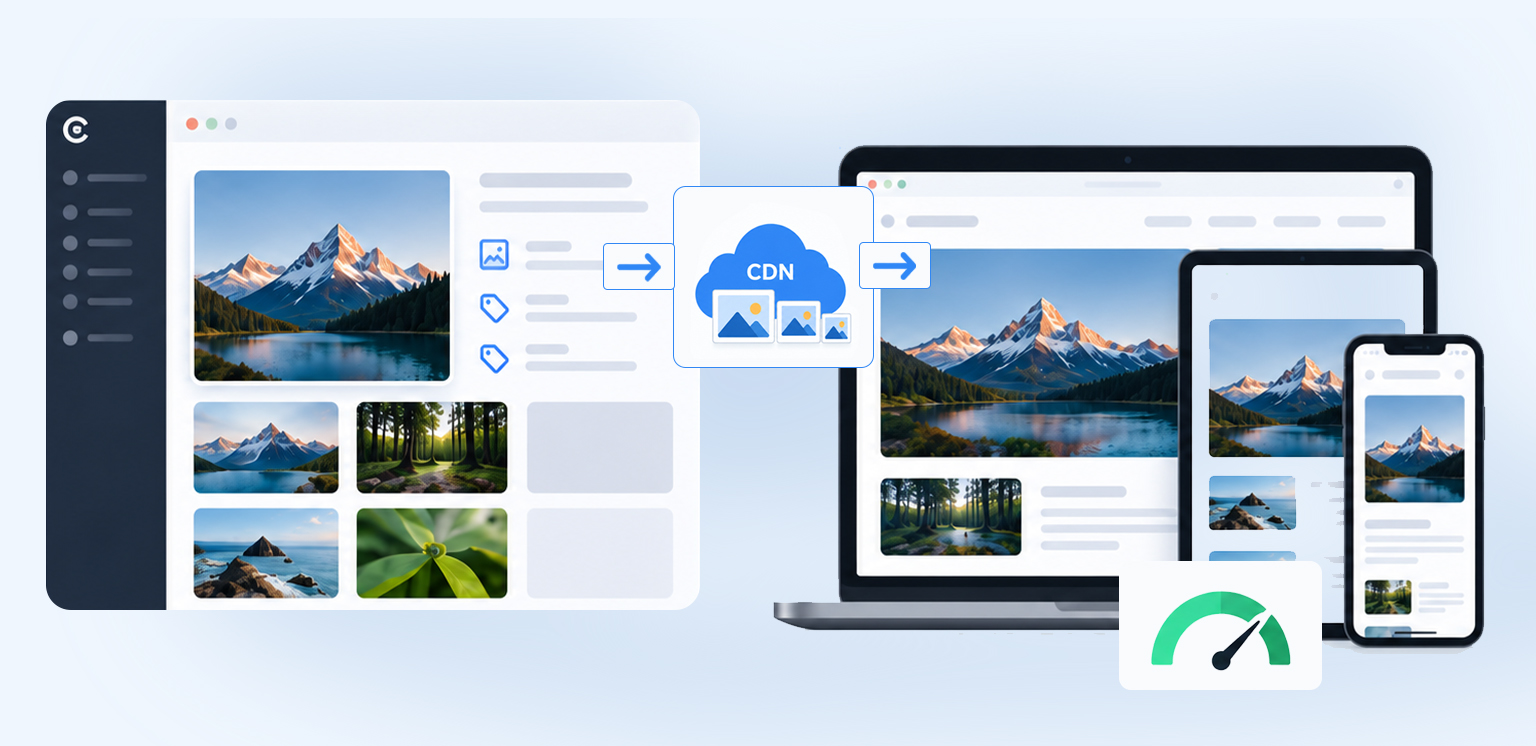
TL;DR: Headless image optimization works best when the CMS manages source assets, the CDN handles image transformation and delivery, and the frontend requests the right image for each device and layout.
Images are often among the largest assets on a website, affecting page speed, user experience, and Core Web Vitals. This is especially true for headless websites, where content management, image delivery, and frontend rendering are handled by separate systems.
A headless CMS may store the original image, an image CDN may resize and compress it, and the frontend may determine which version the browser requests. Without coordination, visitors may receive images that are too large, poorly compressed, or loaded at the wrong time.
This guide explains how to divide image optimization responsibilities between the CMS, CDN, and frontend, with practical guidance on responsive images, Next.js, headless WordPress, loading behavior, automation, and verification.
How Do You Optimize Images on a Headless Website?
The simplest way to approach headless image optimization is to assign a clear responsibility to each layer:
| Layer | Main responsibility | What to optimize |
|---|---|---|
| Headless CMS | Store source assets | Original quality, dimensions, metadata |
| Image CDN | Transform and deliver images | Size, format, compression, caching |
| Frontend | Request the right image | srcset, sizes, loading behavior |
| Monitoring | Verify delivery | File size, requests, LCP, actual URLs |
The goal is not to optimize the same image repeatedly at every layer. Instead, each layer should prepare or deliver the asset needed by the next one.
What Makes Image Optimization Different on a Headless Website?
In a traditional CMS, image resizing, compression, responsive images, and delivery may be handled by the platform itself. With a headless architecture, those responsibilities are often distributed across the CMS, image CDN, framework, and frontend.
For example, a CMS may contain a 2400px product image while the frontend displays it at only 400px. Sending the original file to every visitor wastes bandwidth.
A better flow is:
CMS source image → CDN transformation → frontend image selection → browser
This separation makes it easier to optimize images, but only when each layer is configured correctly.
Headless CMS Image Optimization: Manage Source Assets Correctly
The CMS should act as the source of truth for your images rather than trying to handle every delivery requirement. Keep original assets at useful dimensions and maintain consistent metadata such as:
- Alt text
- Image titles or descriptions where relevant
- Focal-point information when supported
- Consistent file naming
In many setups, the CMS does not need hundreds of manually created image versions for every device. Those variants can often be generated dynamically by the image CDN or the CMS’s built-in image delivery service.
This is particularly important for headless WordPress, where media can be exposed through the REST API and consumed by a separate frontend. Properly structured media data makes the assets easier to reuse across different frontend layouts.
What Should the Image CDN Handle?
The image CDN should handle delivery-time optimization. Instead of sending the original CMS asset directly to users, the CDN can create an appropriately sized and compressed version based on the requested dimensions and format.
A typical flow looks like:
CMS image → CDN transformation → optimized image URL → browser
A modern image CDN may handle:
- Resizing
- Compression
- Format conversion
- Responsive variants
- Caching
- Dynamic transformations
For example, dynamic transformations allow image variants to be generated according to delivery requirements rather than stored individually in the CMS.
Avoid creating excessive variants. The objective is to deliver the right image for the actual layout, not generate every possible width.
How Should the Frontend Deliver Responsive Images?
The frontend determines which image the browser actually requests.
Use responsive image techniques such as srcset and sizes so the browser can choose an appropriate resource. Also, specify image dimensions using width and height attributes to help the browser reserve the correct space before the image loads and reduce layout shifts.
For example:
The CDN can generate these variants dynamically, while the frontend tells the browser when each one should be used.
For art direction, where the image itself needs to change between layouts, use <picture> with appropriate sources.
This approach combines responsive sizing, image optimization, and efficient delivery instead of relying on one fixed image for every screen.
How Does Next.js Handle Images in a Headless Setup?
Next.js can add another image optimization layer through next/image.
This can help with:
- Responsive image sizing
- Lazy loading
- Image dimensions
- Format optimization
- Loading priority
In Next.js 16, the priority property is deprecated in favor of preload. For an image identified as the LCP element, use the appropriate loading strategy, such as fetchPriority="high" or selective preloading. Avoid preloading multiple images unnecessarily.
However, avoid creating overlapping optimization systems without a clear reason.
If your image CDN already performs resizing and format conversion, configure Next.js to work with that delivery system rather than repeatedly transforming the same asset.
The key is to decide which layer owns image transformation and keep the frontend focused on requesting the correct resource.
How Does Headless WordPress Handle Image Optimization?
With headless WordPress, WordPress stores the media while the frontend consumes the content through the API.
A media response may provide information such as:
The frontend can then use the image URL with an image CDN or framework image system to request a more appropriate size.
This means headless WordPress image optimization is less about manually optimizing every frontend variation and more about keeping source media organized while handling delivery efficiently.
What Image Dimensions, Formats, and Compression Should You Use?
Choose dimensions based on the display size
Do not send a 2400px image when the layout only needs 400px. At the same time, avoid making the image so small that it becomes visibly blurry on larger screens.
Use responsive variants based on the actual layout and device requirements.
Choose efficient image formats
Use modern formats where browser support and image content make them appropriate.
Format selection should consider whether the image contains photographs, transparency, graphics, or other visual details.
For modern formats, compare WebP and AVIF based on the site’s browser requirements and the image type.
Compress without damaging important details
Compression should reduce unnecessary bytes while preserving the visual quality users need.
For large image libraries, automated processing can be useful because manually optimizing thousands of product images is difficult to maintain consistently.
How Should Headless Websites Handle Image Loading?
Image optimization is not only about file size. The timing of an image request also affects page performance.
Lazy-load below-the-fold images
Images that are not immediately visible can generally use lazy loading so they do not compete with critical page resources.
Prioritize important images
The main image visible when the page loads, particularly the Largest Contentful Paint (LCP) image, should not be unnecessarily delayed.
Avoid lazy-loading the LCP image. Instead, make sure it is discoverable in the initial HTML and consider using fetchpriority="high" to signal its importance to the browser. Preloading may also be appropriate when the LCP image would otherwise be discovered late.
Below-the-fold images can generally use lazy loading so they do not compete with critical page resources.
The goal is to avoid both extremes: loading everything immediately or delaying an image that is important to the initial viewport.
What Are the Best Practices for Headless Image Optimization?
The most effective setup keeps responsibilities clear:
| Best practice | Where it belongs | Why it matters |
|---|---|---|
| Keep high-quality source assets | CMS | Preserves reusable originals |
| Generate delivery variants | CDN | Avoids serving oversized files |
| Use responsive image markup | Frontend | Lets browsers choose suitable sizes |
| Select efficient formats | CDN/frontend | Reduces transferred bytes |
| Lazy-load noncritical images | Frontend | Limits unnecessary early requests |
| Prioritize critical images | Frontend | Protects important visual content |
| Avoid duplicate transformations | Stack-wide | Prevents unnecessary processing |
| Monitor actual image delivery | Monitoring | Confirms optimization works |
The important point is that CMS, CDN, and frontend optimization should complement each other rather than duplicate the same work.
How to Check Headless Image Delivery
Do not assume an image is optimized because the CMS or CDN says it is. Check what the browser actually receives.
Open Chrome DevTools and inspect the Network tab while loading the page. Look at:
- Image request URLs
- Transferred file size
- Actual image dimensions
- Image format
- Number of image requests
- Loading timing
- Whether the CDN returned the expected variant
Compare the delivered dimensions with the image’s rendered size. If a 1200px image is being sent into a 400px container, the delivery configuration may need adjustment.
You can also use PageSpeed Insights, which can provide additional performance information to identify image-related opportunities affecting page performance.
For a more targeted audit, check for oversized images and determine whether the issue originates in the CMS, CDN transformation rules, or frontend image selection.
Can Headless Image Optimization Be Automated?
Yes. Automation is especially useful when a headless site has a large media library or receives new images frequently.
A practical automated workflow can:
- Process newly uploaded images.
- Generate required responsive variants.
- Apply compression and format rules.
- Deliver images through the CDN.
- Keep new assets aligned with the site’s optimization standards.
This reduces the need to manually inspect every image while still allowing important assets to be reviewed individually.
The best approach is usually automated processing for scale, with periodic performance checks to verify the final browser delivery.
Conclusion
Headless image optimization works best when the entire delivery chain is considered together.
The CMS should manage clean source assets and metadata. The CDN should handle resizing, compression, format conversion, and caching. The frontend should request the right image for each layout and control how images load.
When these responsibilities are clearly separated, you can avoid serving unnecessarily large images while keeping the system flexible across different frontend frameworks and devices. The final test is always what reaches the browser, not simply what is stored in the CMS.
FAQs
Q1: What is headless image optimization?
Q2: Should image optimization happen in the CMS or CDN?
Q3: Do headless websites need an image CDN?
Q4: How do you optimize images in Next.js with a headless CMS?
Q5: How do you check whether a headless website is serving optimized images?
Q6: What is the biggest image optimization mistake in a headless setup?
30 October, 2026
Leave a Comment
Ishan Makkar
He is a web performance specialist focused on image optimization and site speed. As the founder of Image Optimizer Pro, he helps businesses reduce image load times and improve Core Web Vitals. His work centers on delivering faster websites, better user experience, and measurable SEO gains without complex development.