
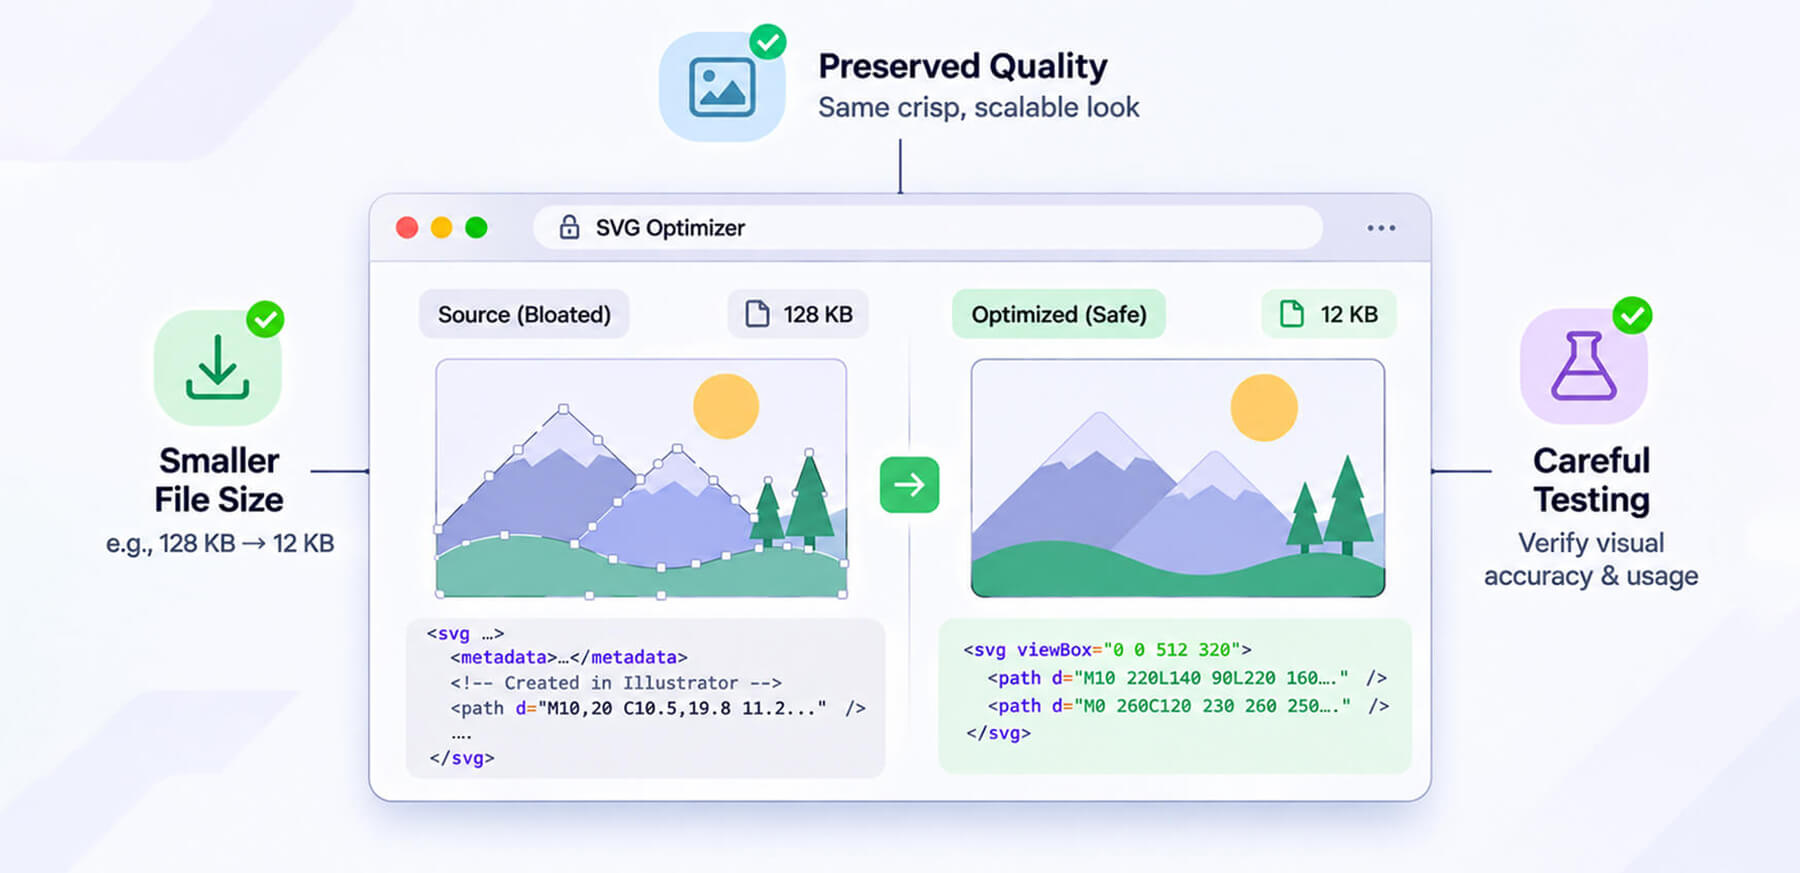
TL;DR: SVG optimization reduces unnecessary markup, metadata, path complexity, and file weight while preserving the visual result. The safest approach is to optimize a copy, use conservative settings, test the rendered SVG, and verify its accessibility and functionality before deployment.
SVGs are often an excellent choice for logos, icons, illustrations, charts, and other graphics that need to stay sharp at different sizes. But being a vector format does not automatically make an SVG lightweight. Complex paths, editor metadata, unnecessary attributes, embedded content, and excessive precision can make the SVG file size much larger than necessary.
Good SVG optimization is therefore less about aggressively shrinking a file and more about removing what the browser does not need while preserving what the graphic actually depends on.
Quick Steps for Safe SVG Optimization
Use a simple workflow to clean up unnecessary SVG data, reduce file size carefully, and verify that the graphic still looks and works as intended.
| Step | What to do |
|---|---|
| 1. Inspect | Check the SVG for metadata, unnecessary elements, embedded images, filters, and complex paths. |
| 2. Keep a backup | Always retain the original editable SVG before optimization. |
| 3. Minify safely | Remove redundant markup, whitespace, comments, and unused data. |
| 4. Simplify carefully | Reduce path precision or complexity only when the visual difference is acceptable. |
| 5. Compress delivery | Serve SVG with HTTP compression such as Brotli or gzip where appropriate. |
| 6. Test | Check appearance, dimensions, responsiveness, accessibility, animations, and interactions after optimization. |
What Is SVG Optimization?
SVG optimization means removing unnecessary data from an SVG while preserving its appearance and required functionality.
Unlike JPEG or PNG compression, which works with pixel-based image data, SVG optimization generally focuses on cleaning up its text-based markup. SVG files can contain metadata, comments, unnecessary attributes, styles, transforms, and other information that may not be needed for browser rendering.
Removing this excess data, along with unnecessary elements and overly precise path coordinates, can reduce SVG file size without changing the graphic. Complex SVGs can also require more browser processing, making optimization useful beyond simply reducing transferred bytes.
Why SVG Optimization Matters for Website Performance
A smaller SVG generally means fewer bytes need to be transferred. That matters most when this format is requested early in the page load, appears repeatedly, or is part of a performance-sensitive interface.
This does not mean every SVG needs aggressive optimization. A 2 KB icon is unlikely to be your biggest performance problem. A 500 KB illustration with thousands of path commands is a different situation.
The goal of SVG performance optimization is to focus effort where the file weight or rendering complexity is actually meaningful.
For broader image optimization, the same principle applies: measure the asset first, then decide whether reducing its size is worthwhile. Image optimization should be treated as part of overall page performance rather than an isolated file-size exercise.
Which Parts of an SVG Can You Safely Optimize?
The safest optimizations generally remove information that does not affect the rendered result.
Remove Unnecessary Metadata and Comments
SVGs exported from Illustrator, Inkscape, Figma, and other design applications can contain editor-specific metadata and comments.
Removing unused metadata, comments, whitespace, and redundant XML information can reduce the file without changing the artwork. This is usually a low-risk first step when you optimize SVG files for production.
Remove Unused Elements
An SVG may contain hidden layers, unused definitions, invisible shapes, or elements left behind during the design process.
For example, an exported illustration might contain:
If that layer has no role in the final graphic, removing it can reduce the SVG file size without affecting what visitors see.
The important word is unused. Do not remove an element simply because it looks unnecessary in the source code. It may be referenced elsewhere through an ID, animation, CSS, or a <use> element.
Reduce Excessive Path Precision
Complex vector paths often contain more decimal precision than a website needs. A path might contain coordinates such as:
M10.238491 20.918372
When appropriate, those coordinates can sometimes be rounded to:
M10.24 20.92
This can reduce the amount of text stored in the file. However, path precision should be reduced conservatively. Logos, illustrations with fine curves, and graphics displayed at large sizes may show visible differences if coordinates are simplified too aggressively.
Modern SVG optimization tools such as SVGO provide precision controls specifically for this type of optimization.
How to Optimize SVG Files Step by Step Without Breaking Them
Follow a safe workflow to clean up unnecessary SVG data, reduce file size, and improve delivery performance while keeping the graphic visually accurate and fully functional.
1. Start With the Original SVG
Before you compress SVG files, save the original source separately. This matters because an optimized SVG may be difficult to edit later, especially after paths have been simplified or unnecessary design information has been removed.
Think of optimization as creating a production version, not replacing your master artwork.
2. Inspect the SVG Structure
Open the SVG as text and look for:
- Large blocks of metadata
- Comments and editor information
- Unused groups or paths
- Repeated styles
- Excessive coordinate precision
- Embedded raster images
- Unnecessary transforms
- Complex filters and effects
- The viewBox attribute and its coordinate values
- Explicit width and height attributes
- The SVG’s intended aspect ratio and responsive behavior
This inspection helps identify why the file is large instead of blindly applying every available optimization.
Pay particular attention to the viewBox, width, and height attributes. The viewBox defines the SVG’s internal coordinate system, while width and height specify the dimensions of its viewport when present. These attributes affect how the graphic fits within its container.
Avoid removing or changing them without checking how the SVG is used on your website. An SVG that looks correct when opened directly may not fit or scale as expected in a responsive layout.
3. Use an SVG Optimizer
Dedicated optimizers can automate many repetitive cleanup operations. SVGO, for example, provides optimization plugins and controls for tasks such as path optimization, precision changes, removing dimensions, and other SVG transformations.
Browser-based tools such as SVGOMG can also provide a visual way to experiment with SVG optimization.
For websites with larger image libraries, automated image optimization workflows can also include SVG optimization alongside other image assets.
4. Compare Before and After
Do not judge SVG compression only by the percentage of file-size reduction. Compare the optimized SVG with the original for:
- Shape accuracy
- Colors
- Strokes
- Transparency
- Gradients
- Shadows
- Filters
- Text
- Dimensions
- Responsive behavior
A smaller SVG that renders incorrectly is not an optimization.
5. Test the SVG in Its Actual Website Context
An SVG may work perfectly when opened directly but behave differently when used as an inline element, <img>, CSS background, or another implementation. Each method has different capabilities and restrictions.
For example, when an SVG is used through an <img> element or as a CSS background, JavaScript is disabled and external resources such as stylesheets and images cannot be loaded in the same way as they can in a standalone SVG document. Inline SVG becomes part of the HTML document and can interact directly with its CSS and DOM.
If your SVG depends on scripts, external stylesheets, animations, or interactive elements, test it using the same embedding method as your website. Do not assume that every feature available when opening an SVG directly will work when it is used as an image.
SVG Compression: Minification vs. HTTP Compression
These two concepts are related but not identical.
SVG minification changes the source by removing unnecessary whitespace, comments, and redundant markup. Broader SVG optimization can also remove metadata, simplify paths, and modify attributes that are not needed for the graphic’s intended use.
HTTP compression compresses the resource during transfer between the server and browser. Brotli and gzip are common examples.
For text-based assets such as SVG, HTTP compression can further reduce the amount of data transferred. A well-optimized SVG can therefore benefit from both clean markup and efficient server delivery.
When Should You Inline an SVG?
Inlining can make sense for small icons or graphics that need to be styled or manipulated directly with CSS.
For example:
Inline SVG allows direct CSS interaction and avoids a separate image request. However, the SVG becomes part of the HTML, so a large inline graphic increases the HTML payload and cannot be cached as a separate image resource.
For a reusable logo or illustration, an external SVG referenced with <img> may therefore be a better choice.
If an SVG communicates meaningful information, make sure it has an appropriate text alternative. When using an SVG through an <img> element, provide descriptive alternative text using the ‘alt’ attribute. For inline SVGs, you can use role="img" with a <title> element referenced through aria-labelledby, as shown in the example above.
For decorative SVGs that do not add meaningful information, use an empty ‘alt’ attribute when using an <img> element or aria-hidden="true" for inline SVGs. Avoid removing accessibility-related attributes or elements during optimization.
How to Reduce SVG File Size Without Breaking Quality
Not every element that adds to an SVG’s file size should be removed. Filters, gradients, masks, clipping paths, animations, and embedded content may be essential to the design. Keep these elements when the graphic depends on them, even if removing them would make the file smaller.
Common SVG Optimization Mistakes
These common SVG optimization mistakes can increase file size or even break how an SVG looks and functions. Knowing what to avoid helps keep optimization safe and effective.
Over-Optimizing Path Data
Aggressive path simplification can change curves, corners, or alignment. Always compare the optimized result visually.
Removing IDs That Are Still Referenced
IDs can be used by CSS, animations, gradients, masks, clip paths, and <use> elements. Removing an apparently unused ID can break those relationships.
Converting Every SVG to Another Format
SVG is already a suitable web format for many logos, icons, illustrations, and diagrams. Converting a vector graphic to PNG or another raster format simply to reduce its file size can sacrifice scalability.
The appropriate format depends on the type of image. SVG is particularly well suited to graphics with relatively simple shapes and limited colors rather than photographic content.
Optimizing Without Testing
A successful optimization workflow always includes validation. Check the original and optimized files side by side and test the final asset on the actual page.
This principle also applies to broader image optimization workflows, particularly when working with large collections of assets. Common image optimization mistakes often come from optimizing an asset without considering how it is actually delivered or displayed.
How to Check Whether SVG Optimization Worked
Measure both the asset and the page. At the file level, compare the original and optimized SVG file size. At the page level, inspect the SVG request in browser developer tools and check its transferred size, loading time, and response headers.
You can also use Lighthouse or PageSpeed Insights to understand whether the asset contributes meaningfully to page performance.
For a wider performance review, common PageSpeed image issues can help identify whether SVGs are actually the problem or whether other image-delivery issues deserve attention first.
A Practical SVG Optimization Checklist
Before publishing an optimized SVG, check:
- The original SVG has been backed up.
- Unnecessary metadata and comments have been removed.
- Unused elements have been removed safely.
- Path precision has not been reduced excessively.
- Gradients, masks, filters, and transforms still work.
- IDs and references remain intact.
- The graphic looks correct at different sizes.
- Accessibility information is preserved where needed.
- The SVG is served with the correct MIME type.
- HTTP compression is enabled where appropriate.
- The optimized file is tested on the actual website.
Conclusion
Effective SVG optimization is a balance between file size, visual fidelity, functionality, accessibility, and delivery performance. Start by removing unnecessary SVG data, then carefully optimize paths and precision where appropriate. After that, make sure the server delivers the asset efficiently.
The key is not to make every SVG as small as technically possible. It is to create a clean, efficient SVG that still behaves exactly as the website requires.
FAQs
Does SVG optimization reduce image quality?
What is the best way to compress SVG files?
How much can SVG optimization reduce file size?
Is SVG better than PNG for website performance?
Should SVGs be lazy-loaded?
Can SVG optimization break an image?
10 November, 2026
Leave a Comment
Ishan Makkar
He is a web performance specialist focused on image optimization and site speed. As the founder of Image Optimizer Pro, he helps businesses reduce image load times and improve Core Web Vitals. His work centers on delivering faster websites, better user experience, and measurable SEO gains without complex development.